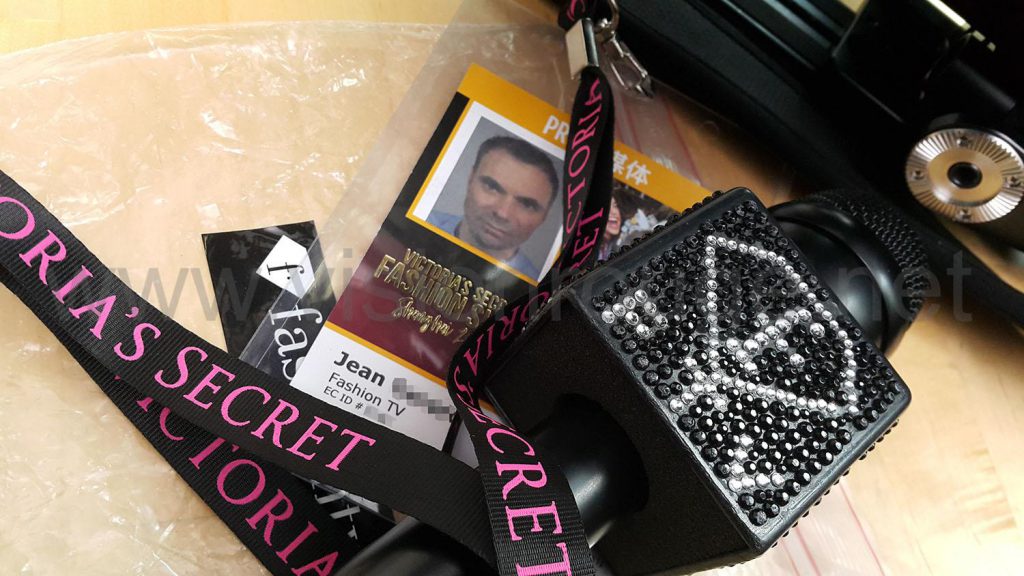
What’s in your bag? Victoria’s Secret Fashion Show, Shanghai 2017.
Shanghai Fashion Show, How to prepare your gear
Covering Victoria’s Secret 2017 Shanghai fashion shows happened in 4 different parts; The Backstage/Make up where you can interview models during a 20mn session, The VIPs Pink Carpet where VIPs are coming to the show and can also be interviewed about 90mn long for 40 pax, the Show recording itself and another Pink Carpet for the party after the show where models have way more time to talk and feel more relaxed, about 1 hour long.
For each of these parts, VS team members are there to drove the VIPs/model and you, so you need to push a bit to make sure you get what your production need. Working for fashion TV is a great start as most of people in fashion heard about it and ready to give a nice chat with you. Working with experimented journalist is a must as she knew the model by name and can attract their attention even more.
You will be in line with many other TV crews (usually 2 members and have an A5 paper size location for you). And don’t forget the fans ready to crash in with their phone…
I got this camera operator assignment from the French TV Fashion TV and was a great opportunity to check how the market shifts from camcorder and ENG cam to large sensor video camera as Sony FS7. This camera was clearly the most used on the day, everyone with a different way to see their setup.
The request was to work as a one man’s band with a journalist interviewing both VIP and models at different step of the show. The sound needed to be on a hand microphone to make sure the logo was present on screen. A monopod was requested too for stability, even if I’m not sure it will be part of my kit next time. Victoria’s Secret Fashion show is extremely prepared and only few space and time is possible for a crew to work. They will assign you models and location and it’s all goes super fast. You can’t go there unprepared. Every team have about 20 min for the backstage/make up part and we manage to get 10 interviews + b-Roll!
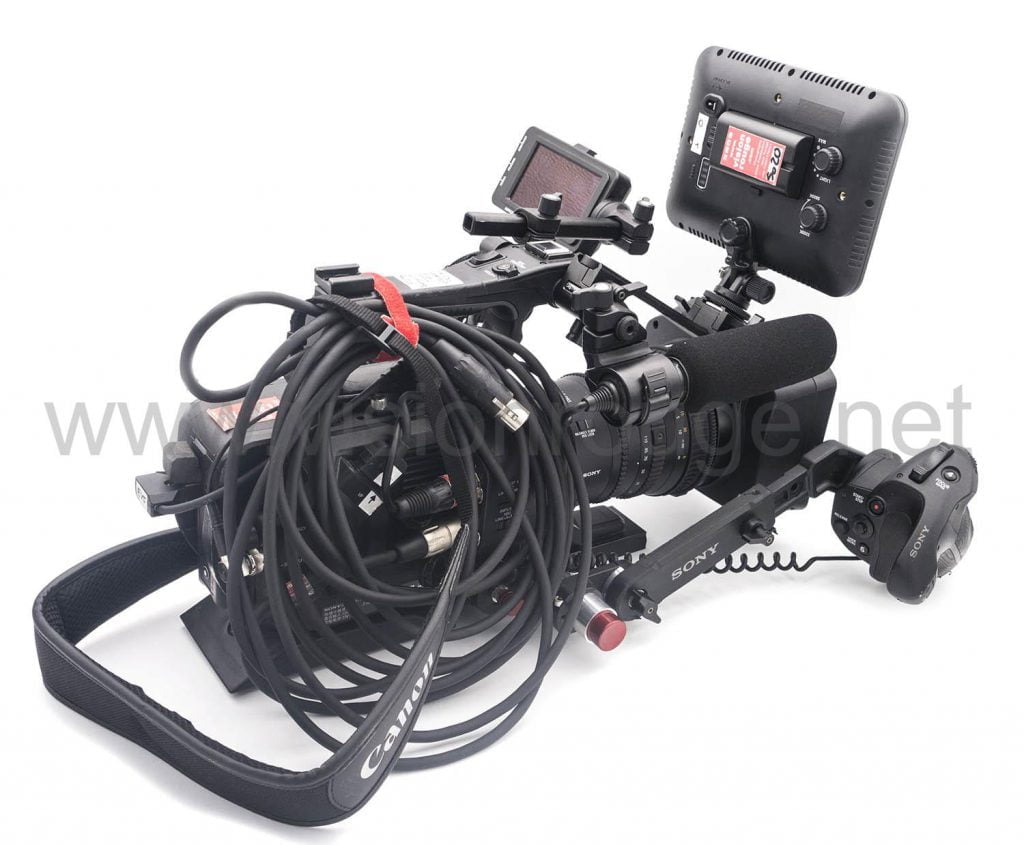
Here is the different adds-on if you need to go to something similar.
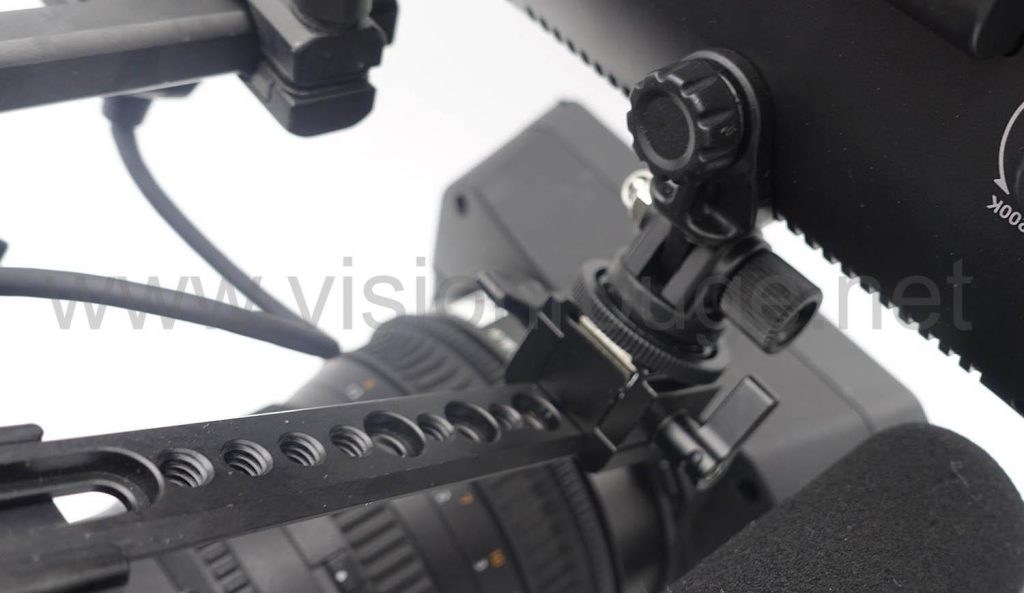
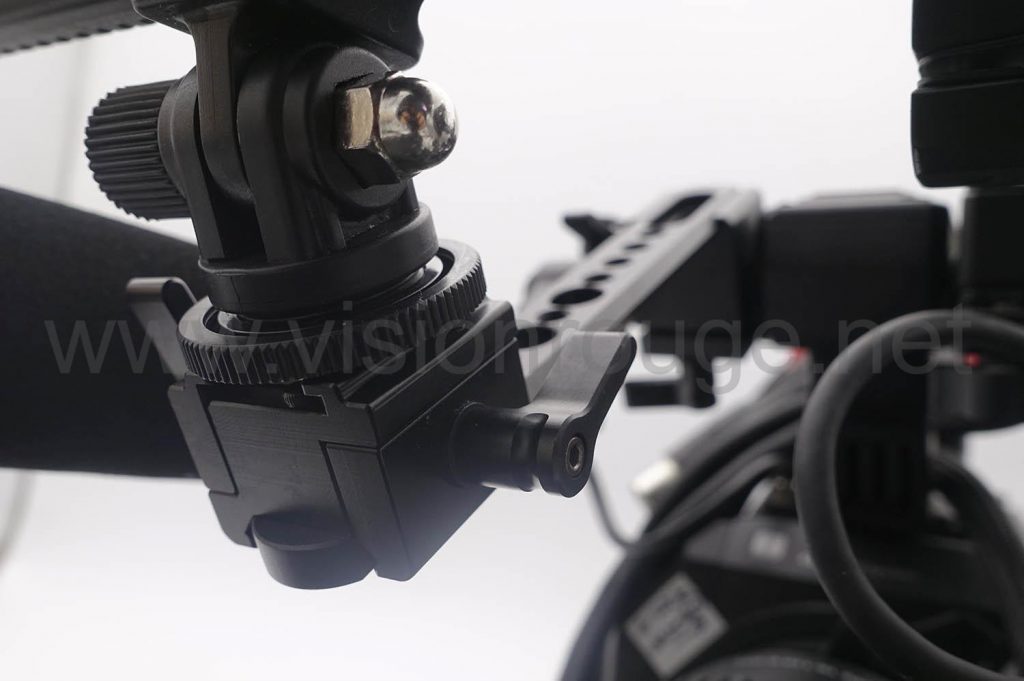
Shape arm reset.
This model is not specific to Sony FS7 camera and a great way to be able to put the camera on a flat surface by moving the handle in a second. It’s extremely strong and I clearly recommend it.
It also helps moving the arm a bit forward if you feel the Sony extension is not enough as I do.
I also used it during the Red carpet where space is very, very, limited to get the handle on the back of the camera and use it as a tripod leveler and still be able to control the recording and zoom. The one specific for FS7 can’t allow you to go further front and will be obsolete as soon as you change camera. As I have decided to not have any camera bag but a small backpack, it was a way to rest the camera on table during waiting time also. There were no spaces for large bag on each Pink carpet.
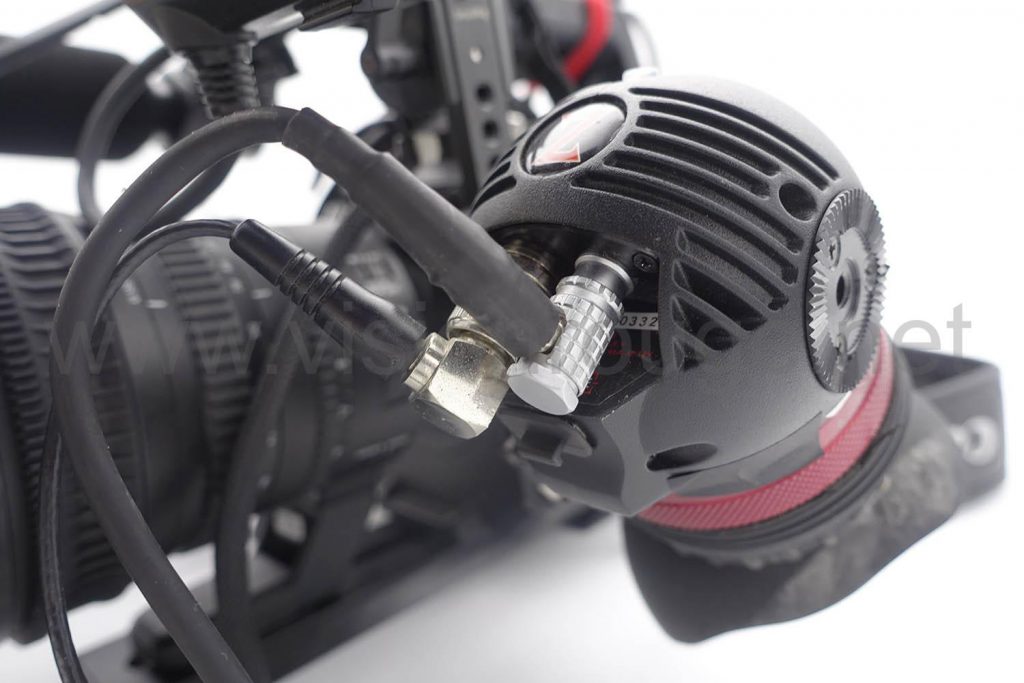
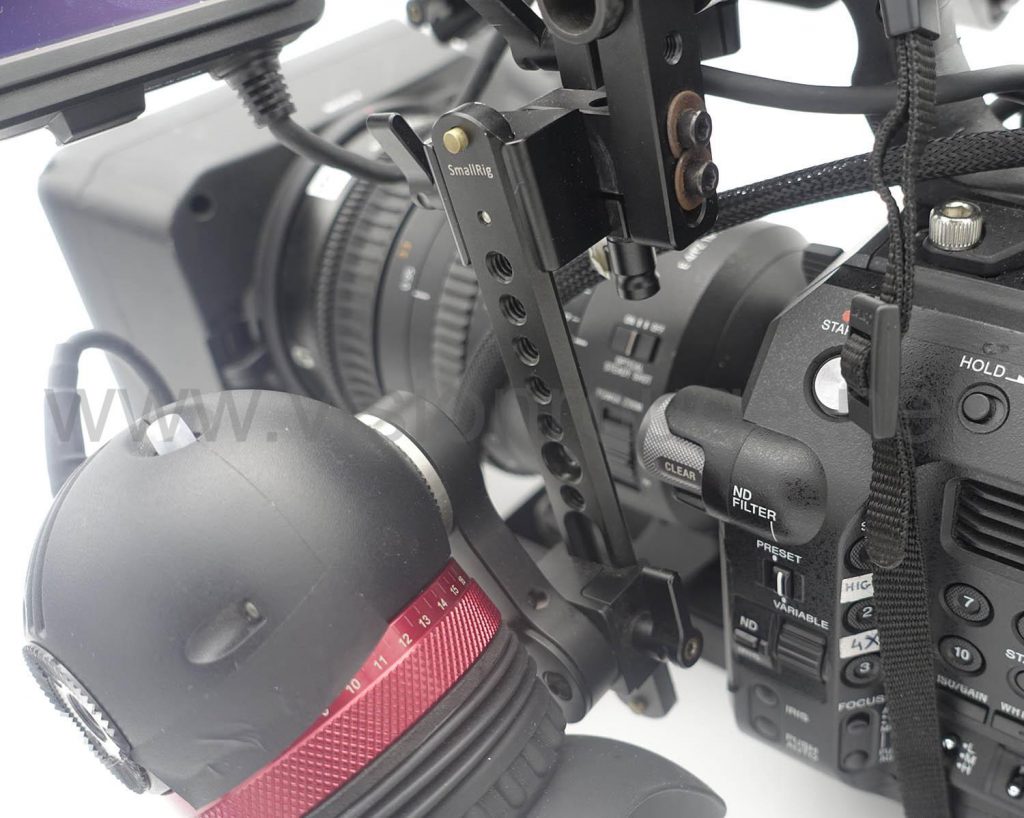
Smallrig locker in place of the Sony one.
Very quickly, you will realize that the provided locker for the extension arm can’t be locked firmly as the space for your fingers is quite small. You simply do not have enough grip. I have exchange it with a metal one. This way, it’s firmly in place and easier to lock, another Smallrig item.
Carbon fiber rod on top of the handle
The Sony one is a bit heavier, but it’s too short if you want to put more accessories without going for a cage. With carbon fiber, you keep the weight down. You need a specific tool to unscrew the Sony one and you really improve your camera mounting abilities.
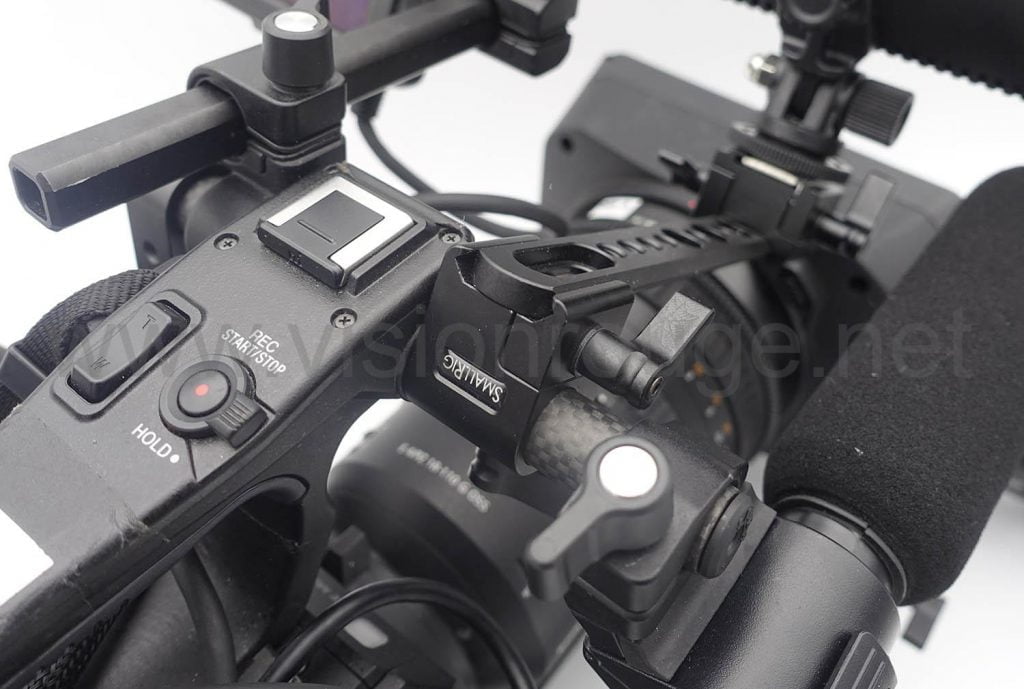
I can have EVF and Sony screen on one side and LED + microphone on the other side and still space for my finger to lock all.
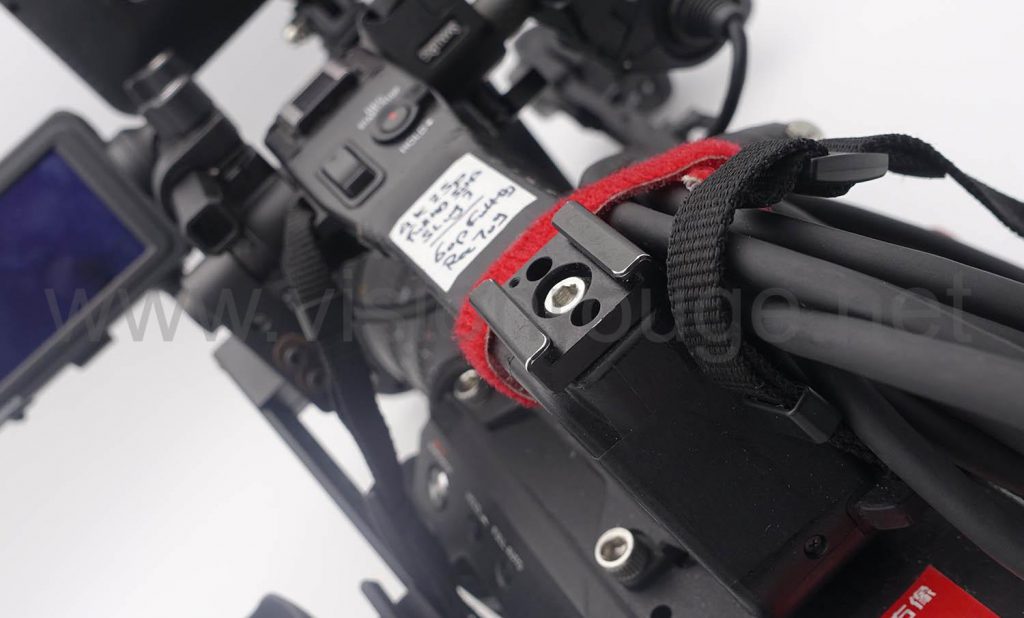
LED support system
In order to keep shadows as low as possible, It’s important to get the led around your lens and that my design for this.
I love the Nato rail system, it’s super static and firmly locked, so it’s a great way to also have another camera holding point.
You can just unlock from the bottom of the Nato rail if you need to put in the bag. The LED angle can be adjusted either on the LED or with this system. Again, all is from Smallrig.
I wish their Nato could be longer a bit and have a pit on both sides. The hold is so strong that you can change battery with only one hand by pushing the locking button, nothing moved!
Bi-color Led panel with extra diffusion.
This is basically one of the cheapest bi-color Led you can get but still with a nice feature.
It’s super flat and easy to fit in a bag.
It last about 1 hour with the very small and slim Sony batteries which is great.
CRI is not great, but you can’t have it all!
It’s Bicolor and have almost the same power when you shift the white balance (most of these goes from full power when only one color is used and slowly decreased on mixed to go back to full at the other end)
It have a battery locking mechanism.
It uses rotating dimmer and no push buttons. This is important for a fast color and power adjustment. It also avoid moving too much the camera by using pressing button one.
I have opened it to slide a piece of Rosco thought diffusion gel and smooth the shadows a bit. It’s actually quite pleasing on face and was great to mix with the actual lighting.
LED are SMD without any lens on it, so it’s smaller but can’t reach too far. IT’s was perfect on this situation as the pink carpet is usually well lit, and you just need extra punch when the models are getting closer to the cameras for the interview.
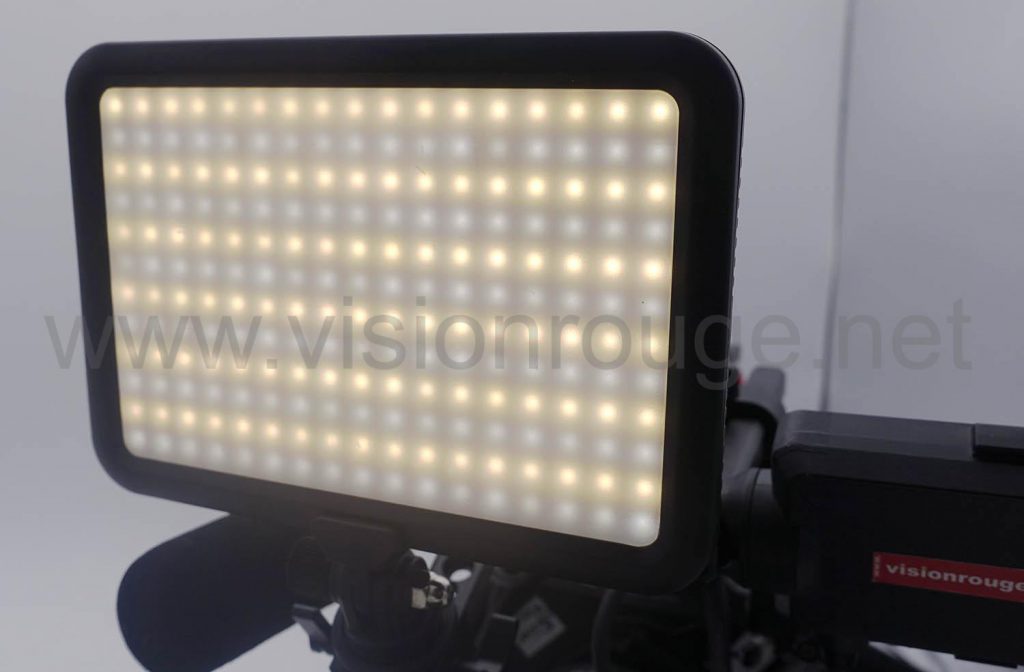
I also put some white tape where the power switch is to find it easily in dark ambiance. I have put the LED reversed, so the dimmer and color button are reachable with my right hand instead of left.
Extra hot shoe.
Just in case you need to add a wireless microphone and don’t want to put it front heavy, in the middle of screen or EVF.
I put a one from Smallrig and it’s all in aluminum, ready for the hard work.
The Sony one in front is also with specific electric connector for their hot shoe system and could be damage when you put accessories. I prefer to keep it protected and not using it for basic microphone or light support.
Canon camera shoulder strap.
As stupid as it sounds; a Sony FS7 come with a very cheap shoulder strap and will be quickly hurt your shoulder. As the opposite, Canon C300 shoulder strap is just perfect.
As you may have to get the camera on your shoulder to go location to location, I can’t imagine using the original Sony one.
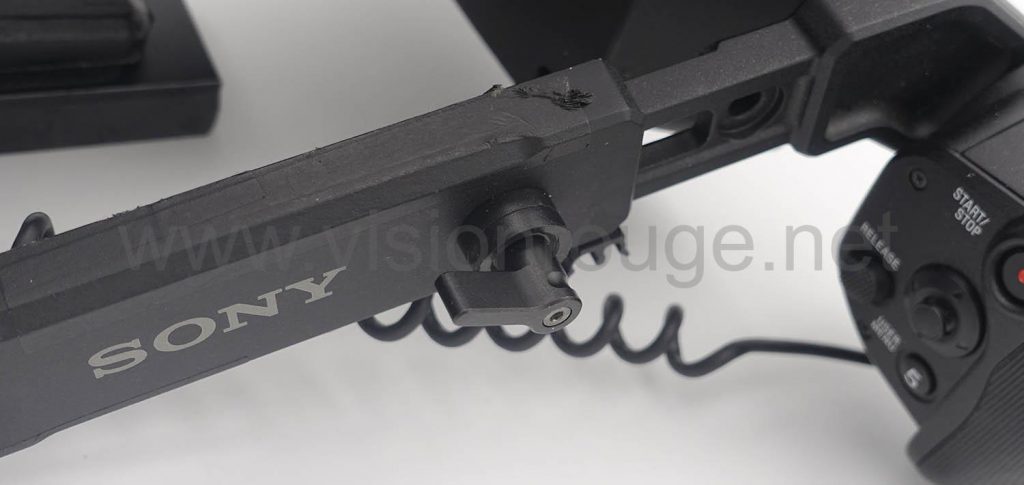
Zaccuto EVF, Lemo 90, Tape focus.
As Sony do not provide a solution you can use in bright daylight, the extra add of an EVF is mandatory. The Zaccuto is great but suffer few drawbacks.
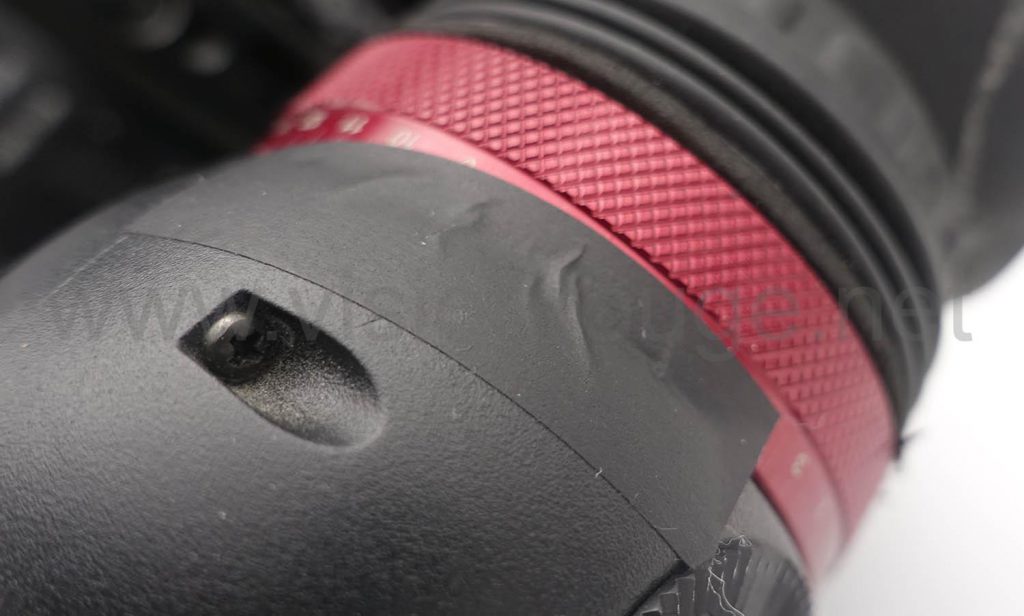
The diopter adjustment always moved slightly, so masking tape came to save me from blurry screen.
The provided Lemo plug is also not great and I solder a new 90 degrees angle one to keep it from hitting the head of the next cameraman.
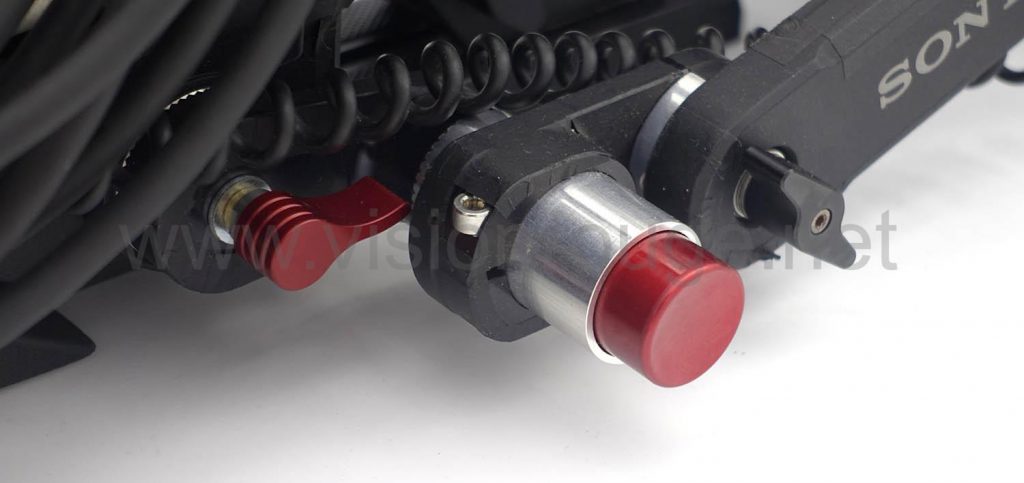
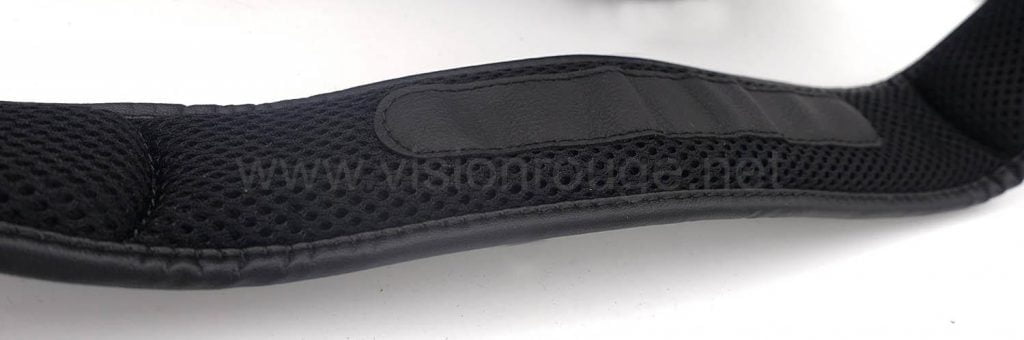
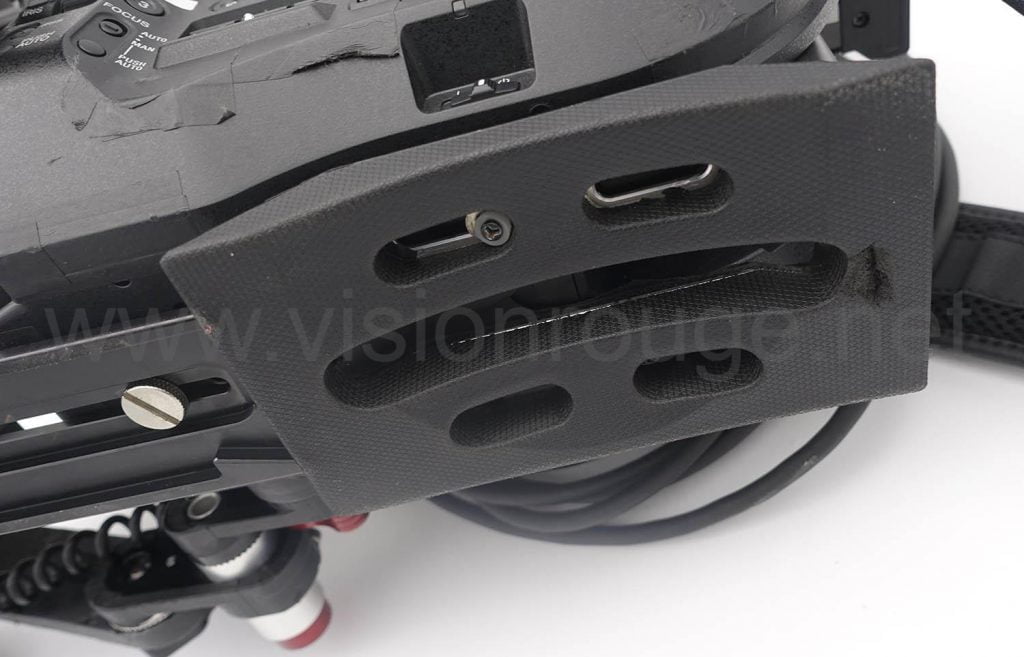
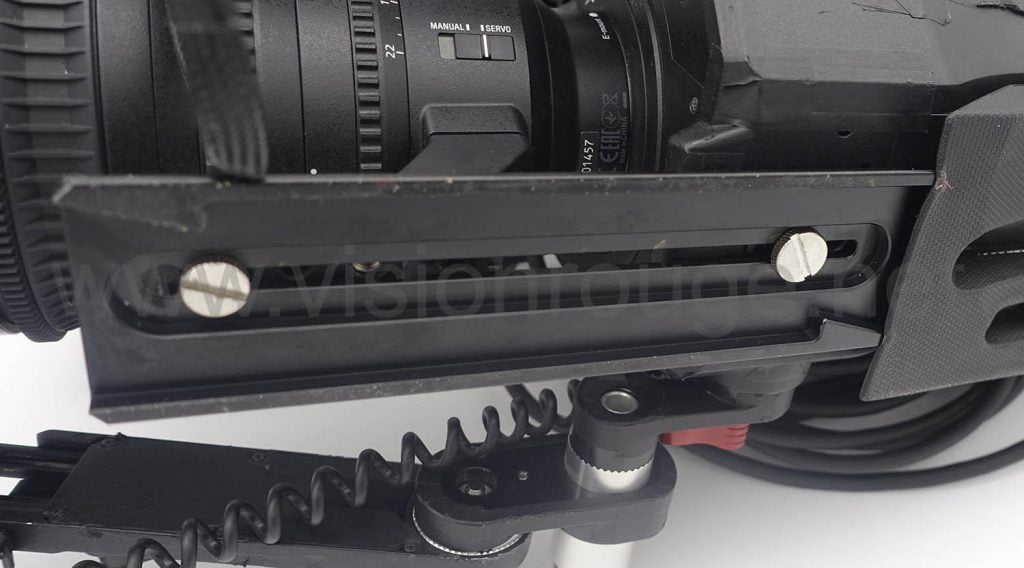
Long plate and softer shoulder pad.
Another very nice add on with this setup is to get a foam from a discontinued Smallrig VCT 14 plate. I used the Sony existing screw location and put this one in place to get much better stability and comfort.
To be able to use the second screw on the plate, I choose a longer one, using the lens holder as support. I used the small Manfrotto head MVH500 on top of my monopod which can be just dropped to the head and have a bit of spring.
The full camera sits on a monopod to “keep your space” during waiting time in line with the other crew. But I found that I was more comfortable shooting just on my shoulder. The Monopod is great if your subject position can be adjusted. But it was so crowded that I did not have the right access to the model when she stopped 30 cm away from the small attributed angle.
Smallrig DIY EVF support
That the missing designed from Smallrig is you ask me. I have to do this one on my own with 3 different kit from their store and it perfect to adjust the angle to fit your eyes with still some tension to get stability.
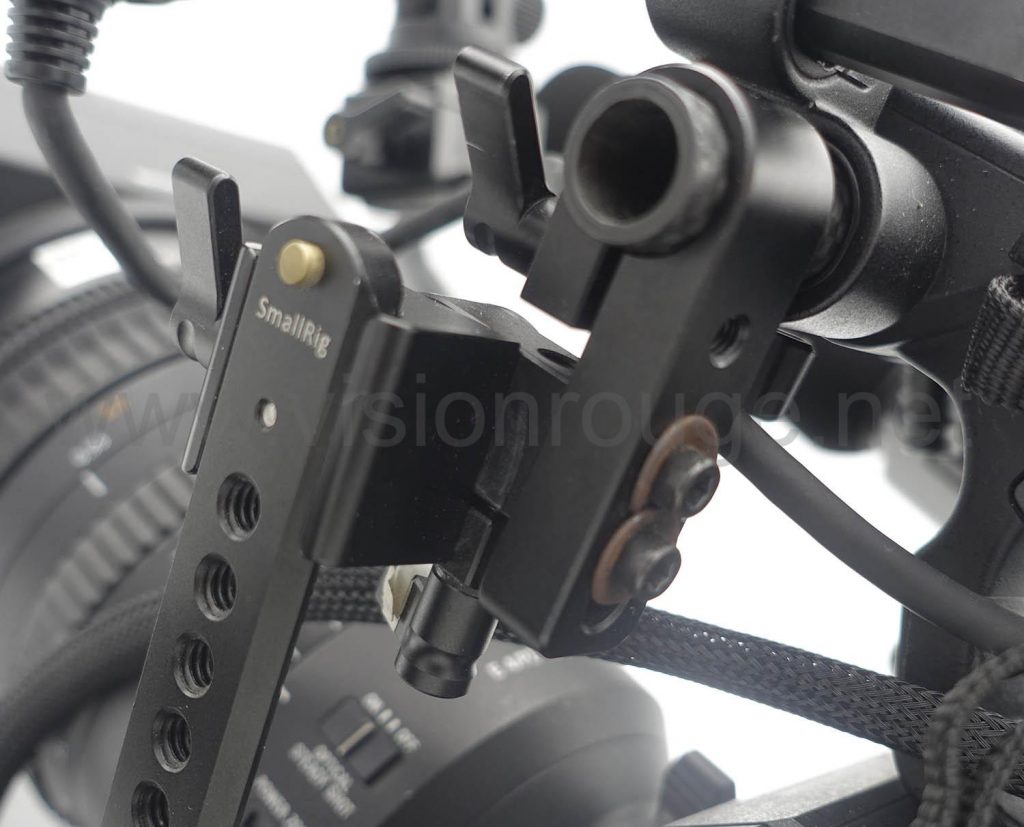
I just think the Nato rail could be 2 cm longer too.
Conclusion.
Sorry for those waiting to see something sexier than my rig here, please link to FTV Youtube channel and playlist for more, respecting client is always my priority.
It was a great day with nice people all around; I was please to work with someone with experience who prepared me for this shooting.
What I missed is a nice way to get a small adjustable preamp on the microphone input to get the right level. Also I miss having a way to get audio monitor levels adjustable as you go for very noisy place. The FS7 only allows you to choose the headphone volume in a camera menu which is not something you have time to do. You can’t even assign a button to this function and the max level is still quite low.