Sony FS7 Mark 1 upgrade hack, microphone holder fix with SmallRig
Upgrade the Sony FS7 Mark 1 microphone holder fix, SmallRig hack
Owner of both a FS7 Mark1 and mark2, it was very tempting to try to upgrade the version one to be closer to the upgraded version and switch from each of them flawlessly.
The first easy fix is the microphone holder.
Honestly, if you are working for Sony team who designed this; I would love to get a word with you. How in the world; after designing hundred of cameras, you ended with such fragile solution?
For those not familiar with it; it’s a 15 mm aluminum rod with a cap in plastic where 4 tiny screws are supposed to hold the weight of a microphone. On top of these, of course, two, even thinner, plastic clips are the only link with the rest of the camera. You can imagine what’s happening when you put this in a camera bag as the microphone is in the top of your camera? Life expectation of the ensemble is about a week.
I bought my FS7 in perfect condition from a company running out of business in Shenzhen, and even if the body was in perfect condition, this part was damaged.
So, you can go online and order a new one or try to solve this, copying the idea behind the version 2. I also have tried to order as spare the version 2 only, but I never found a website offering it. Even going in Chinese version of Ebay was not successful.
Here is how version 2 looks like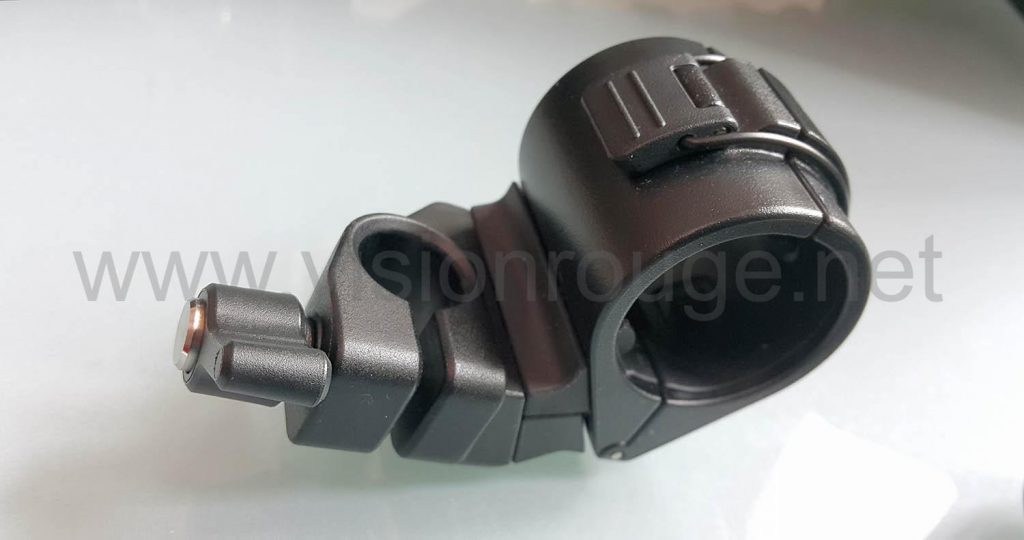
To be honest, buying again a new one from Sony will cost you about 200 USD already, which makes sense to try to fix it by yourself.
On the upgraded version, the full microphone holder can be unlock and throw in your bag. It have also the advantage to make the camera footprint smaller. I have clients all over China and traveling with a camera I can configure and break down in small pieces in my bag is a big plus.
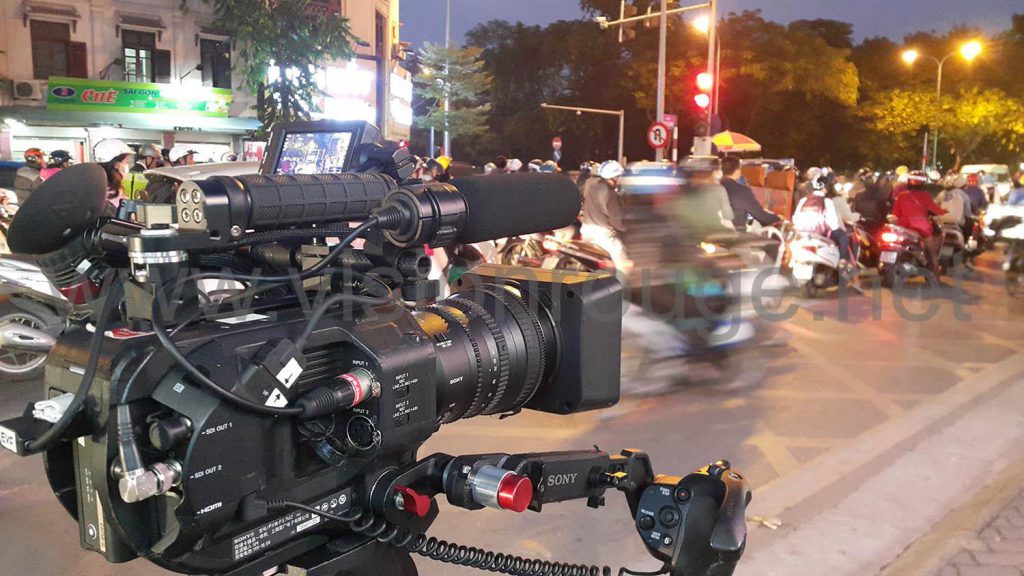
For example, I lately went shooting in Vietnam as a single camera operator and I choose a configuration with NATO rails instead of the Sony hand-grip on top of the camera. It was a great way to have a full FS7 in a simple photographer backpack. My setup use 15mm rod, so I was able to clamp the microphone anyways to another rod than the original one. This is a picture in the busy streets of Hanoi last December.
Back to the version one; the only good thing is that the 2 tiny clips are acting as a fuse; as soon as broken, the microphone holder is very loose and the pressure is released on the rest of the microphone holder. So it’s unlikely that the damage go further. The rod on top of the camera is actually a great idea.
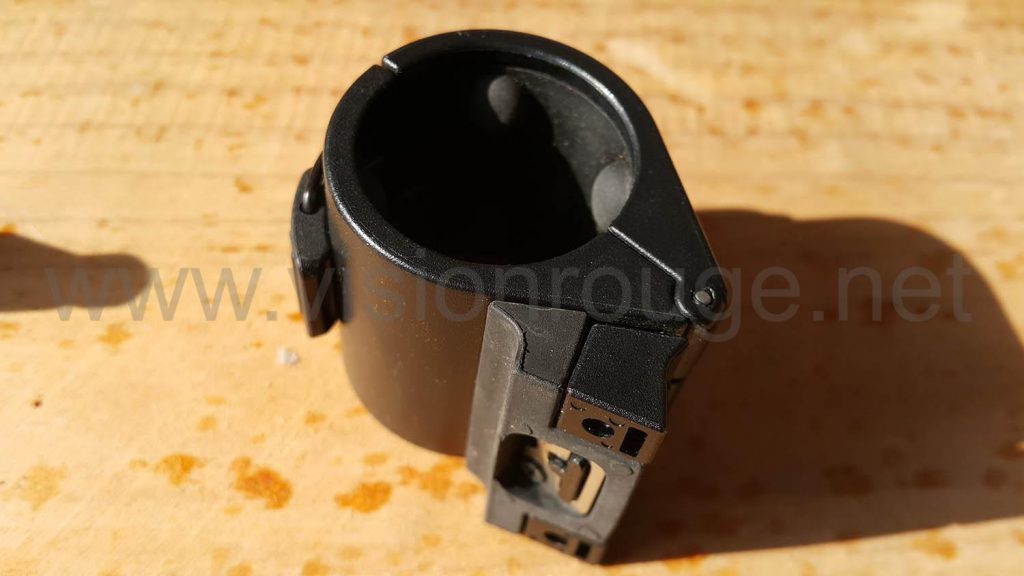
To fix it, I have decided to keep the working part: the rod from the camera and the microphone holder itself and try to find a way to link both together.
It tooks me about one hour max and only need very cheap spare.
You need a item from Smallrig #1549, a ring to act as a spacer, and a screw.
On the tools side, a 4.5 diameter metal drill, a driller, a medium size flat screwdriver and a metal saw. I guess you need also a very small screwdriver to disassemble the old microphone system.
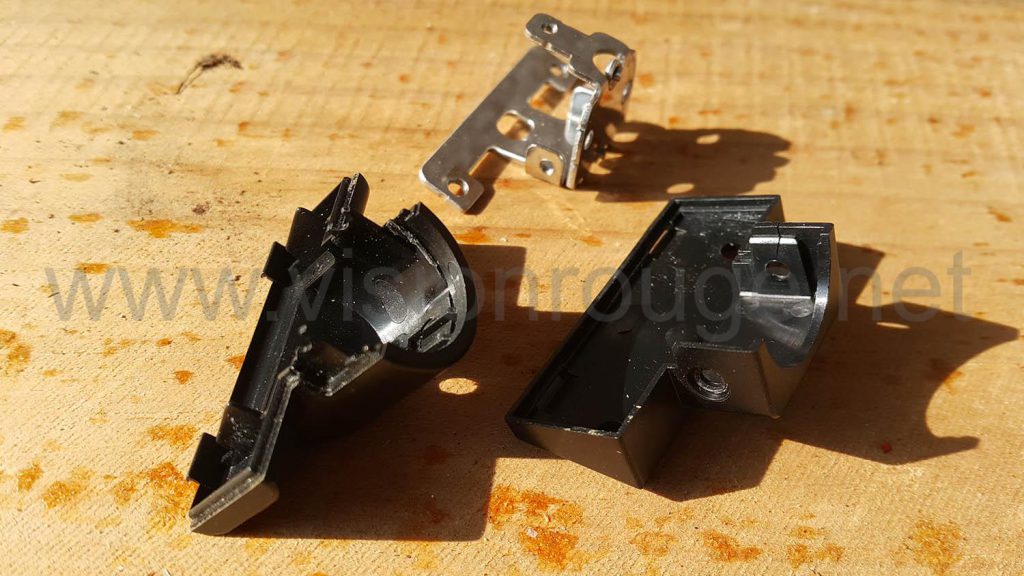
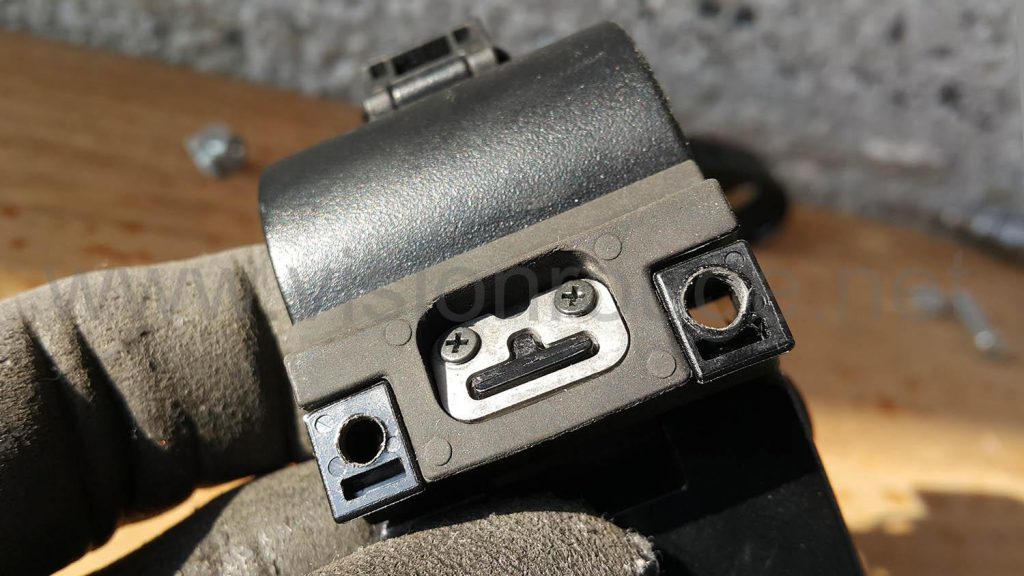
Firstly, you need to disassemble the existing Sony product and will end with plenty of tinny useless pieces of metal and plastic. All below the microphone holder can be removed, but keep the part acting as suspension, of course.
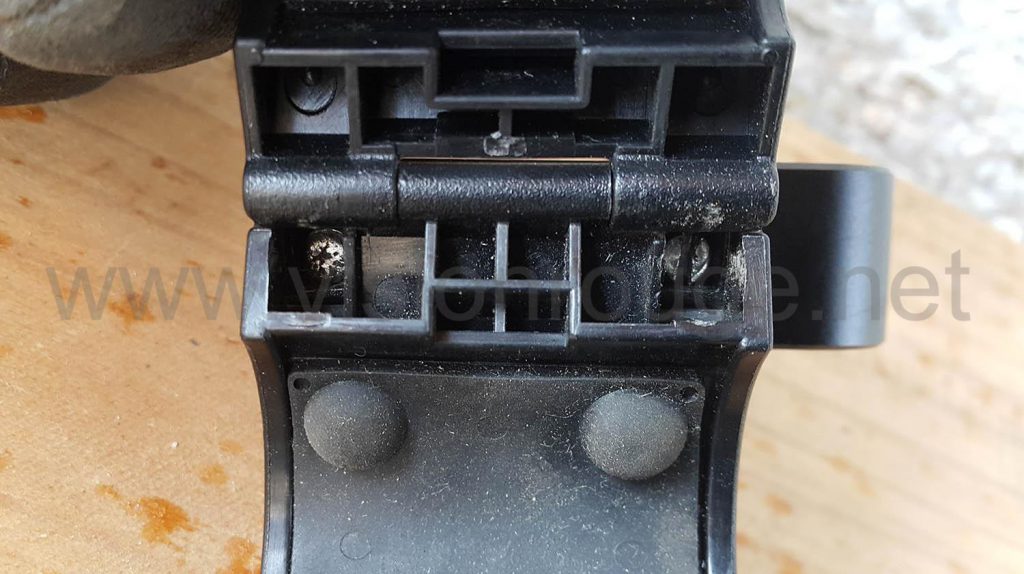
Second, carefully drill at a 4.5 diameter in place of the two existing links with the bottom part. I will later use it to insert the M5 screw there, so, do not make a too big hole. Go slowly in the plastic to not break it also. You can go with a 3mm diameter first and go later with the 4.5 mm to make sure you go slowly. You can buy such metal drill set here.
The third step was to used this hole and screw a M5 inside to create a pre shaped path for the M5 later on.
Do this for both holes.
The Forth part is to create the screws itself. I took a longer one and cut it in half after creating a room to put a screwdriver inside.
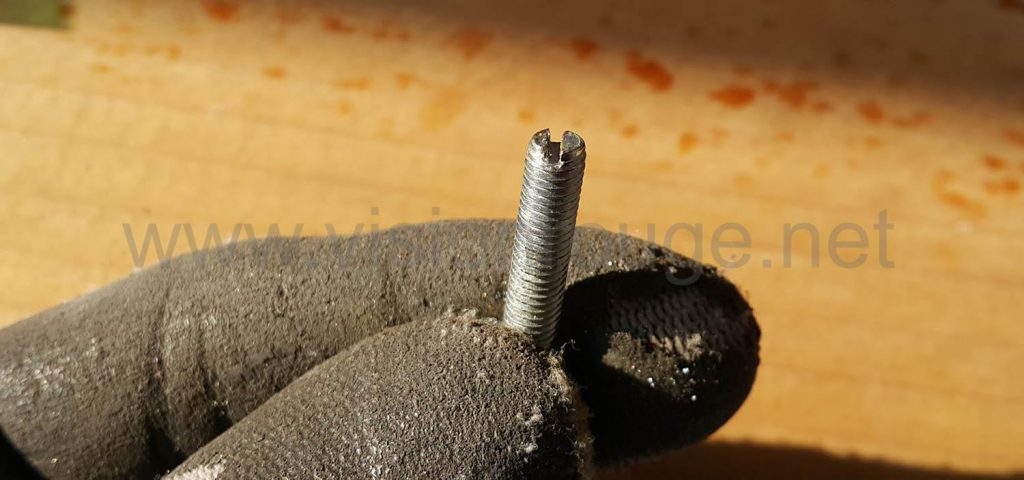
For this, with the metal saw blade, I create notch shape in the middle.
I cut it in half later on. Do this in this order if you want to have enough room to hold the screw when cutting it…

You can actually buy a shorter M5 screw and a alen M5 screw without head called Hex Allen Head SocketScrew, of course, but I didn’t have it on my desk at the time. I can suggest you to have a look of this Hex Allen Head Socket Set Screw to be ready for 10 years of DIY.
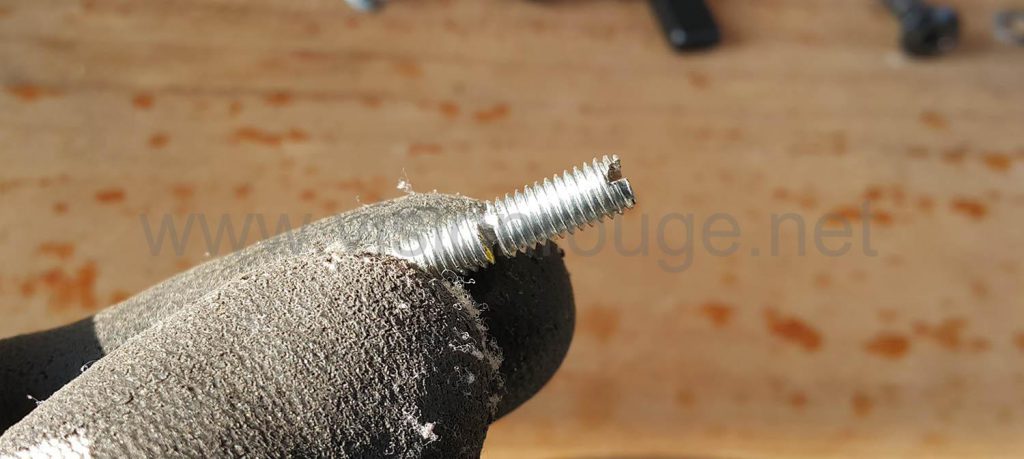
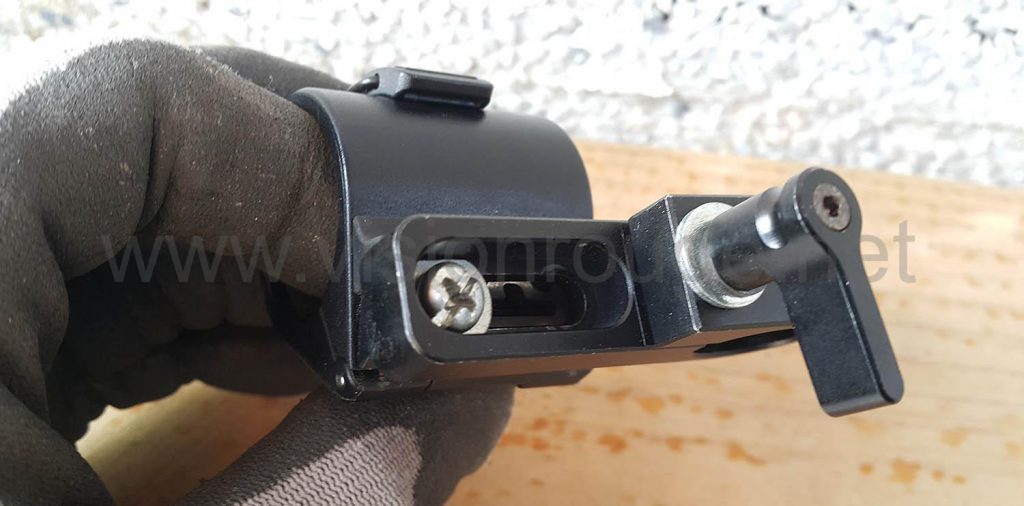
In fifth, screw the notched M5 part in the mic holder with a millimeter and half going out. This should go inside the Smallrig rod holder, so you don’t want to get too much inside as the same hole will be shared with the locker on the other side.
That’s the reason why you need to add a ring to make more room in this hole. With the ring, even completely locked, the Smallrig screw will not hit the mic holder screw. Don’t be too scared if it hold with only few turn; the main link is the second screw. This one is only to avoid it to rotate and only one M5 screw is 2 time more than what Sony’s engineer have designed with their system at first.
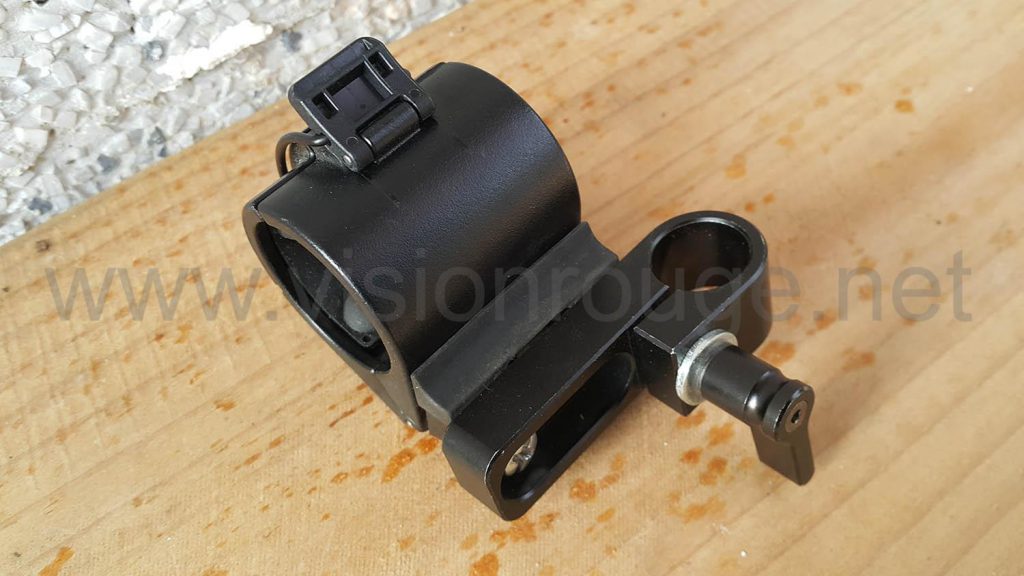
The Sixth and last operation is to screw the second one, firmly this time.
 I also shaped a ring to makes sure it fit perfectly.
And you are done! Now, as on a FS7 M2, you can quickly unscrew the microphone holder when you pack the camera for travelling all over Asia. The second benefit is to be able to screw a microphone to any cage with a rod 15mm. It will survived way longer than the camera itself.
You can also replace the Sony rod with a carbon fiber one and save a bit of weight too.
And if you are working for SmallRig; please send me plenty of customizable part like these, I need to go for part 2 with a way to fix the faulty design on the rocket arm, a way to fix the rotating EVF screen… Please contact me for my wish list!