DIY rainwater collector upgrade
GREAT DIY rainwater collector UPGRADE
You can find many diverter on any DIY store, online or even as second hand as some people get it as a kit with their rainwater tanks. These rainwater diverters are doing a great job considering their price, but I wanted to upgrade to collect even more rainwater from the rooftop.
I found two principal limitations.
Firstly, the output water pipe is too small in case of heavy rain and a lot of water is lost at it over flood internally. The water just ends into the sewer system.
The second limitation is the fact that it collects water from the downspout surface only, leaving the drop from the center flooding down the drain in order to let the leaf go through.
There is also a winter/summer position switch that is very basic and rainwater is leaking from there.
Again, there are many ways of doing some improvement, but I wanted to stay as low cost and low tech as possible as usual. I focused on getting a 40 mm output drain with a 99% water catch.
These products are sold around 80 Euro which is quite a lot if your idea is to save water for economical reasons.
How the original rainwater collector works.
In this system, you have to cut the roof gutter completely to install it. That means that it’s better to get the downspout with extra hooks to maintain it. My gutter is close to the wall, so only this model fits the space.
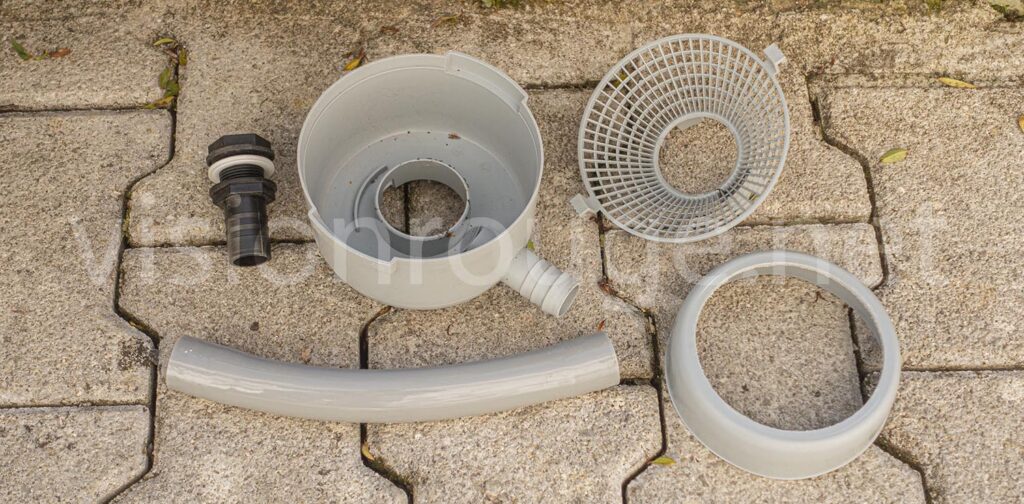
The rainwater falls into a grid to remove leaves and large debris. It fills the bottom and can be directed to a small hole feeding the rain tank installation.
It has a possible switch to cover this hole and so the water just overflows in the center to bypass the collecting system.
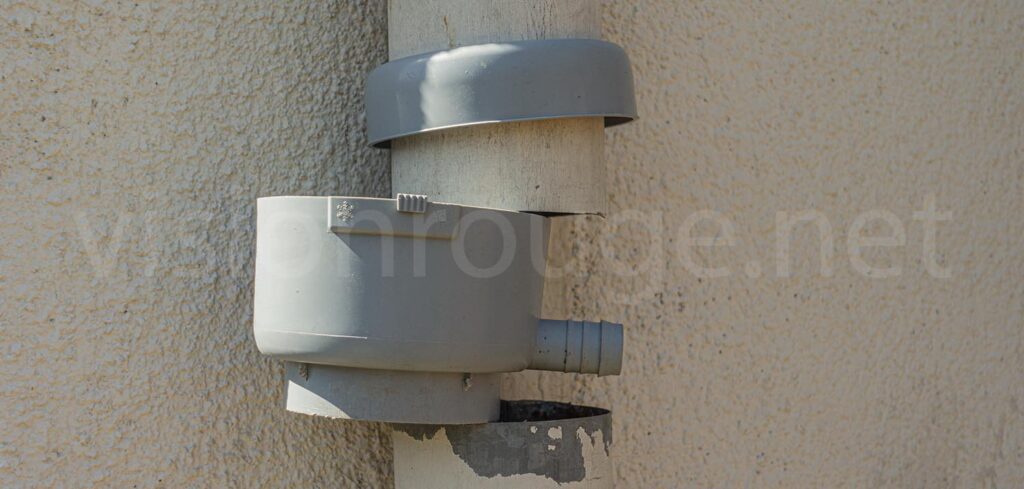
It’s easy to clean as you just have to lift the top cover and remove the possible leaves.
This is the complete rainwater catcher kit to install on a 100 mm downpipe. It can fit smaller ones too, but I have cut the centerpiece to fit mine in this picture.
The mini gray flexible tube is just fine to do a link with a very close water tank. It can easily be extended if your cistern is further from your gutter.
Where should you install your rain water catching system ?
You usually install it at the maximum water level your tank should be filled. So it stops sending water from the rooftop when the tank is full.
This is great and you don’t need to think too much about overflowing as the tank stops filling when the level is reached.
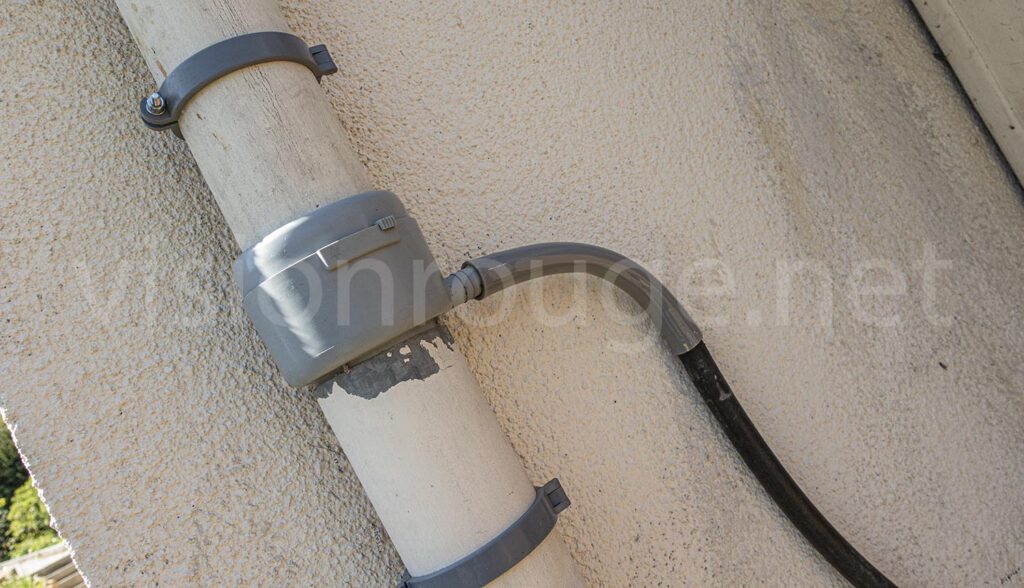
But in my case; I have 8 meters and a filter between the tank and the catchment areas. I have preferred to install it higher and use a water tight fitting system. When all my tanks are full, the overflow water is sent to another pipe back down the sewer. This allows the water to circulate inside the tanks and may reduce bad smell and algae formation. I hope to disrupt mosquitoes’ lives as well.
Cheap Rain water catcher weakness.
The grid covers only partially the pipe circumference in order to let the leaves flooding into the sewer and not blocking rain water catching systems. This goes the same for the water collection; it’s far from being 100% effective.
The collecting pipe is way too small to follow the water flow during pouring rain. This is merely 18mm diameter hole,
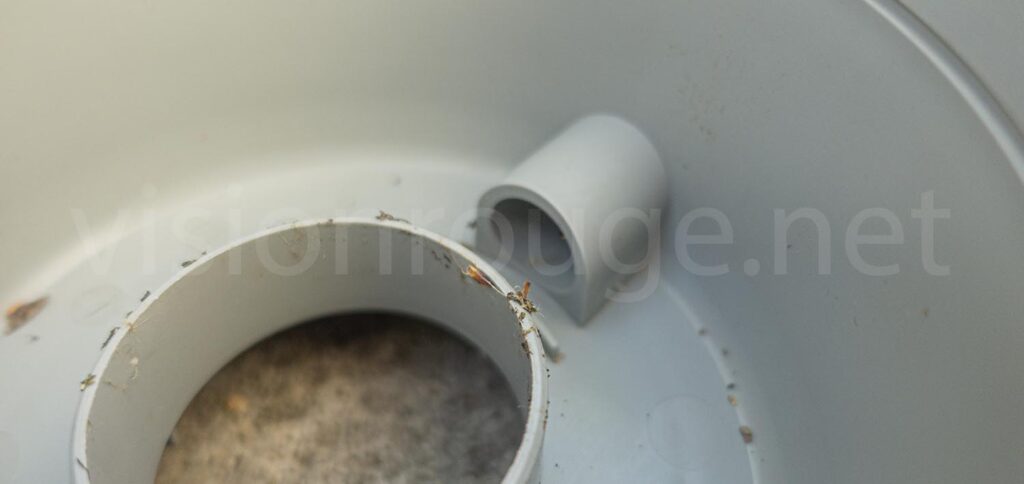
So the bottom is quickly full and precious liquid overflows to the sewer drain.
The summer / winter switch uncovered an extra hole that is always leaking.
The entire system is a stack of plastic layers and it’s far from being leak proof. you do not place the grid correctly, it will also let the water flood by the center.
The Zero euro rainwater harvesting system upgrade.
As usual, when doing improvement; you go step by step and try to do the math between the gain and the time and money spent.
I have first added a 2 cm long pipe to create a gap on the bottom of the bowl. This simple DIY avoids all the droplets that were bouncing around to jump into the drain hole.
It will stop the leaves but I can accept this as it’s super easy to go from time to time checking if it’s stuck and removing debris by hand. Just this simple extra cm already collects more water.
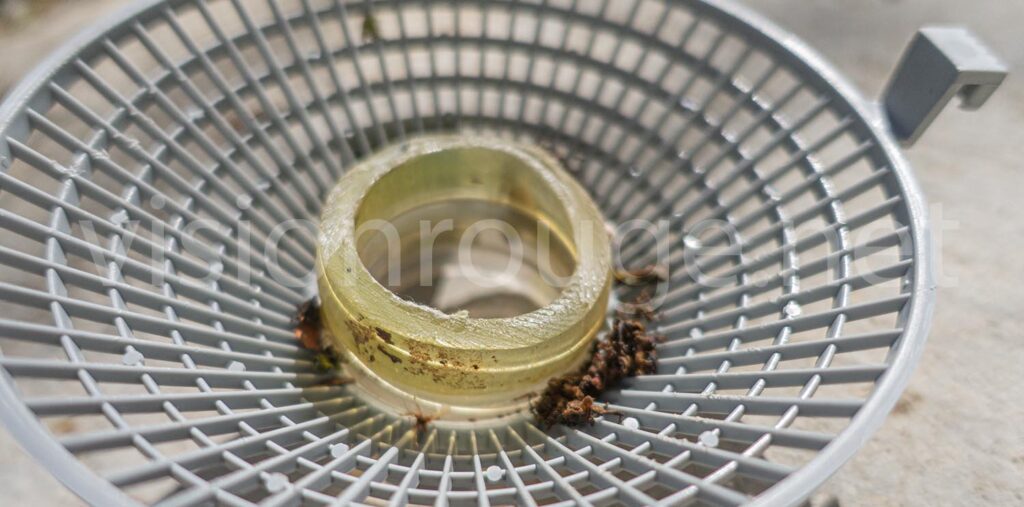
The second improvement is to create a small curved roof in the center, so the water coming on the center is now redirected to the borders and so forced into the collecting system. It’s a piece of plastic from a file cover. I maintained the overall with an old wire binding.
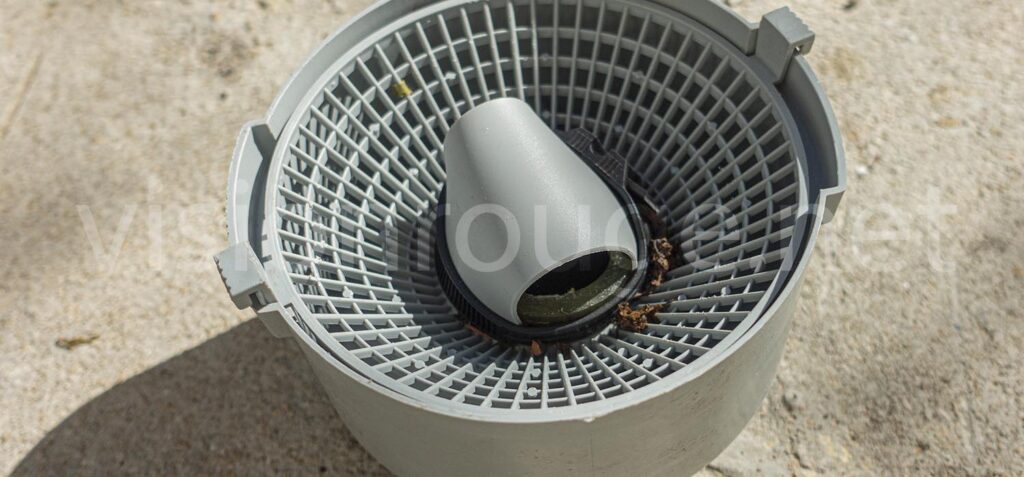
Just by doing so, I can clearly see when lifting my water collection system that I have really improved the amount of water collected.
I have been using this method for 3 months without any trouble. The debris and leave are now stuck inside the bowl on the grid, so I need to check time to time to clean it.
In my case, as you can see, the gutter has a curve to follow the extra space created by the external layer of insulation.
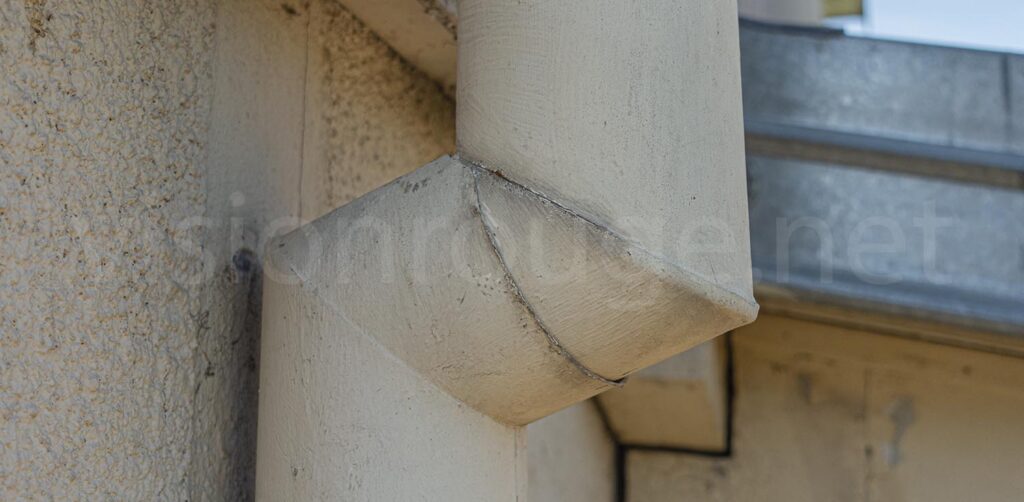
This modified path pushes part of the water in the center of the gutter. That’s the reason why covering the hole was very effective.
This is the view from inside the downspout at the specific path, I will have to cut the gutter zinc to keep water from falling in the center.
The 5 Euro improvements.
In order to connect to my existing 40mm piping system and so collect way more water, I needed a larger discharge diameter.
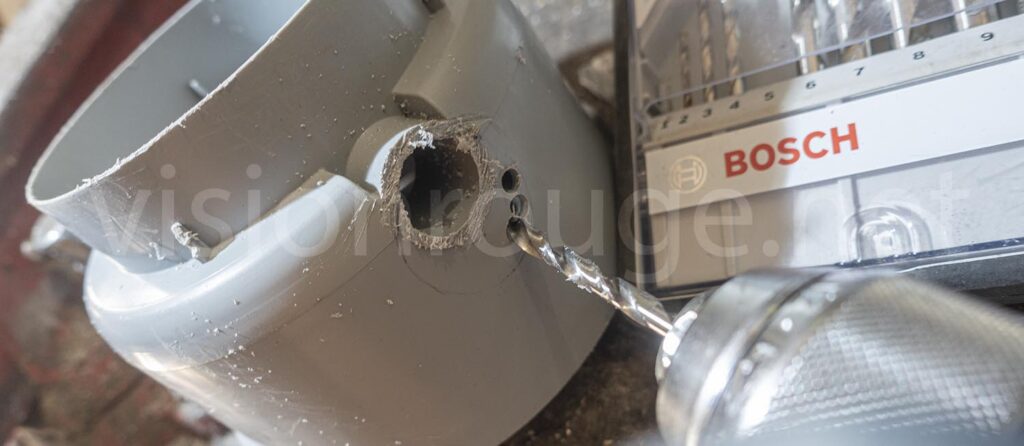
The current hole is about 12 mm internal. My goal is to go for 40mm or so.
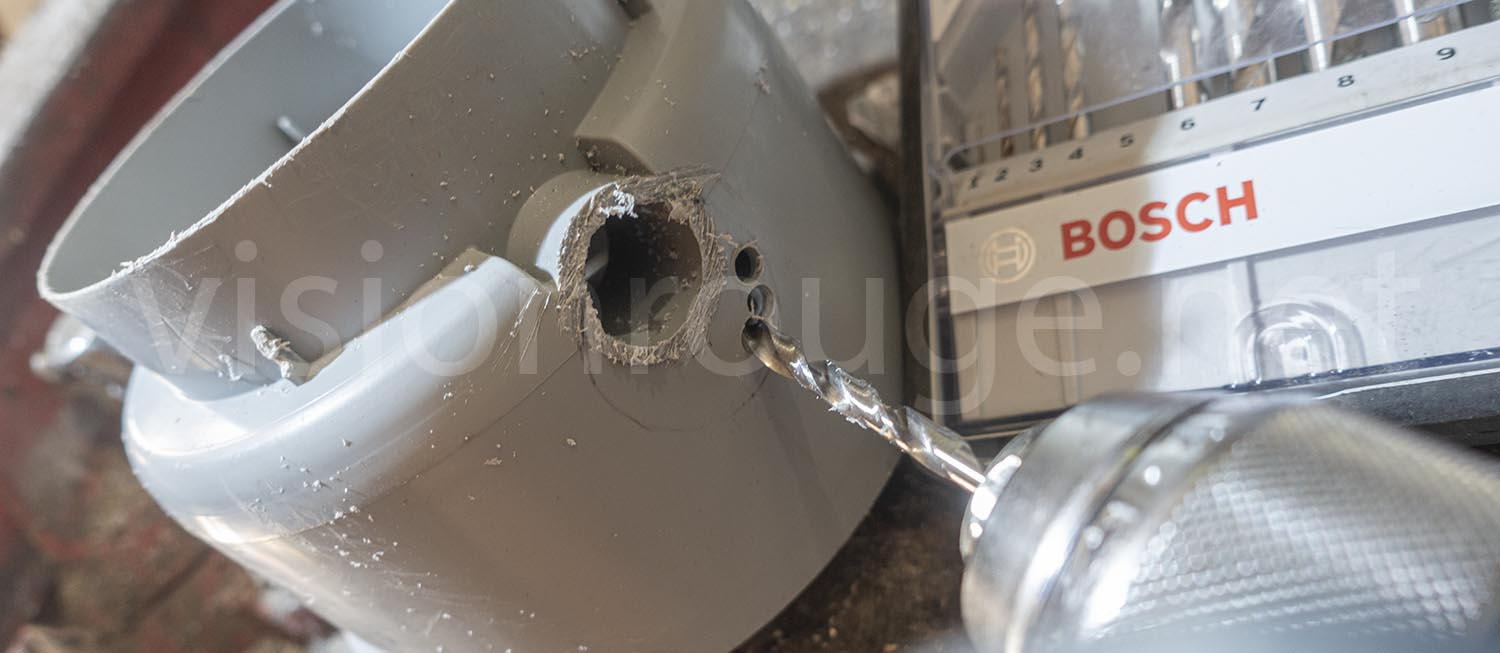
I could have directly glued a short pipe but the structural result will be quite fragile. I found a piece of PVC at my local DIY store that is actually designed for such. I glue it after drilling a wider hole.
Drilling, cutting, gluing.
PVC is easy to work with and creating a larger output hole for the water is quite simple. A nice set of metal drill are helpful here.
This is the final shape of this PVC appendices that is now allows me to connect a regular 40mm piping system
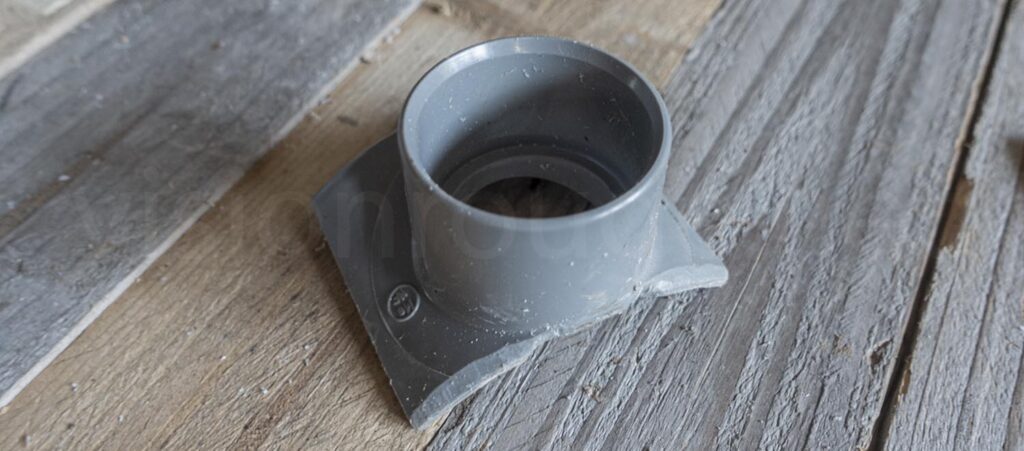
At this time, I lost the possibility of stopping the water during winter time. This is not really an issue as I can just connect a cap to stop the rainwater if I like to do so.
I’m not too worried about icing as some water tanks will be stored into an area that is always below zero. These specific rain water tanks will be used for the toilet flushing system all year.
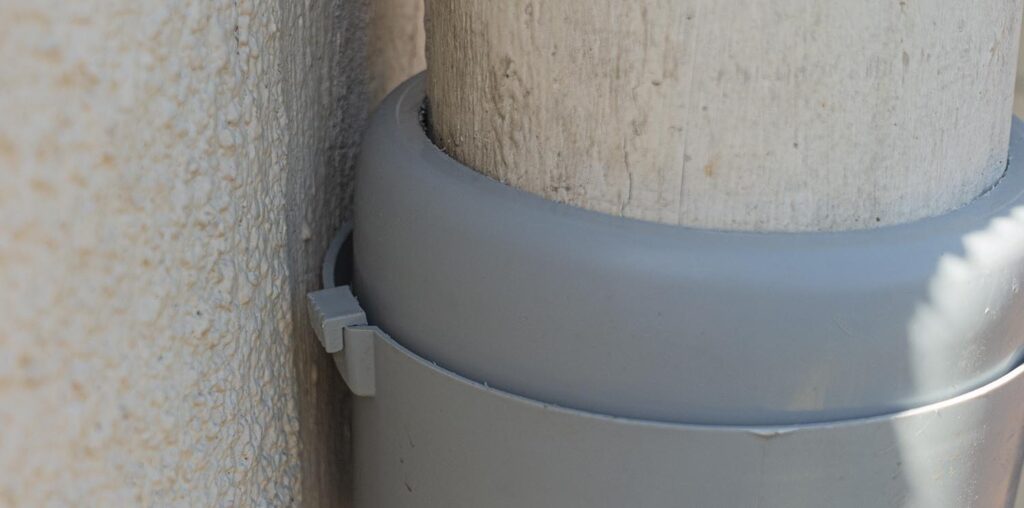
The existing winter to summer switch was actually way too close to the wall, so was already impossible to use.
Adding spacing in the rain over flood drain
With the PVC glue tube in hands; I changed the centerpiece a bit using a cutting piece from 50mm piping.
The diameter is just spot on. As my output pipe is now 40mm, I also need to do such to increase the overflow level.
the glue actually was not the right one, so I went for using a glue gun instead.
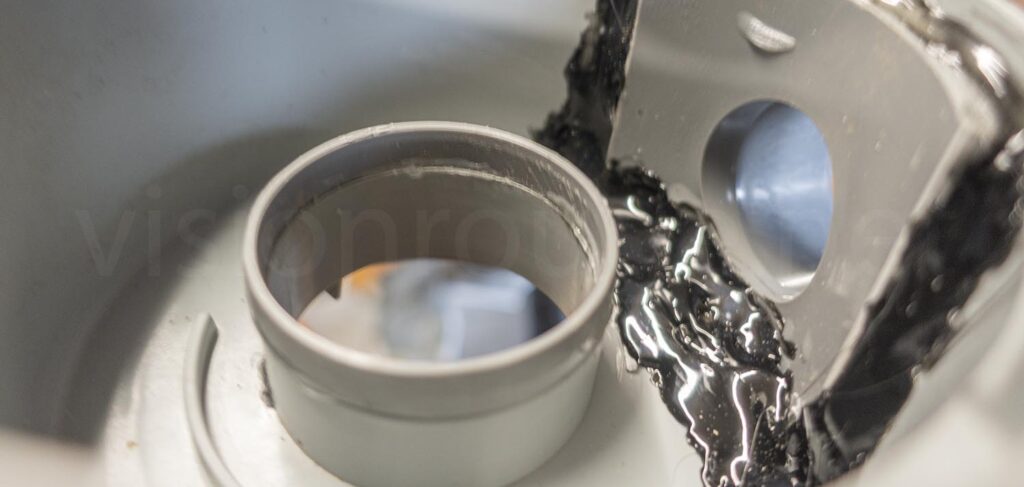
Redirecting rain water to catch it all
As for the Pokemon, you want to catch as much rain going into your downpipe.
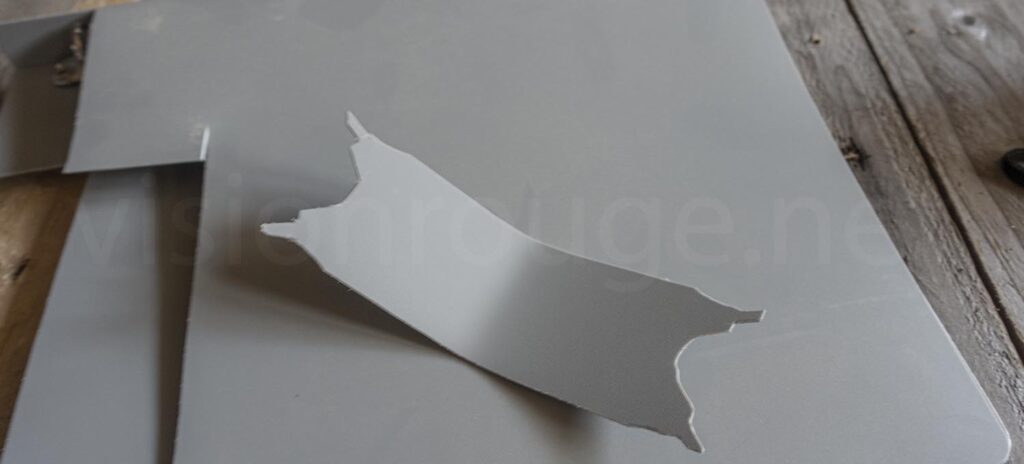
To redirect the water falling in the center of the gutter, I redesigned my previous roof using the same flexible cover from a file organizer. It’s in plastic so should last about 400 years as well.
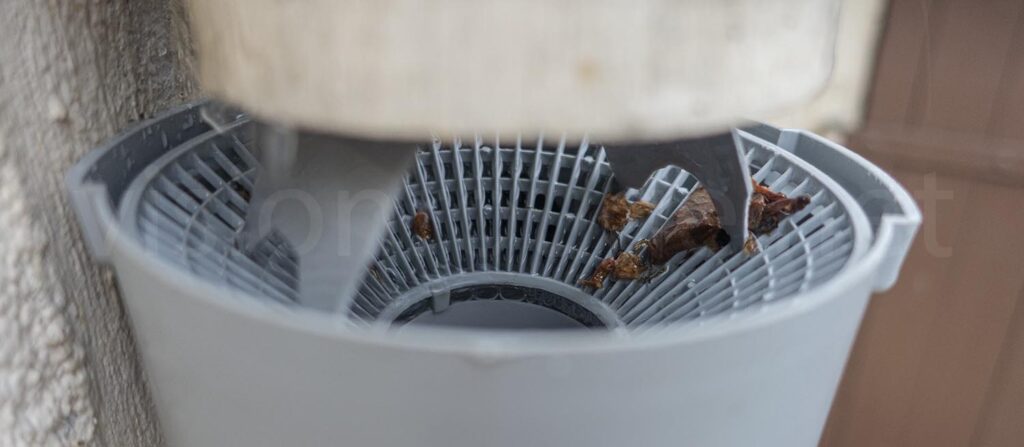
As you can see, leaves are almost ready to go into the sewage system, so it does not need maintenance after all. Small debruises are not stuck anymore.
Real life results during heavy rain.
I can honestly not be happier with the results of this DIY. A nice 100% of the water from the rooftop is flooding my rain water harvesting tanks with a low cost and low tech.
I guess I spend a full day working on this.
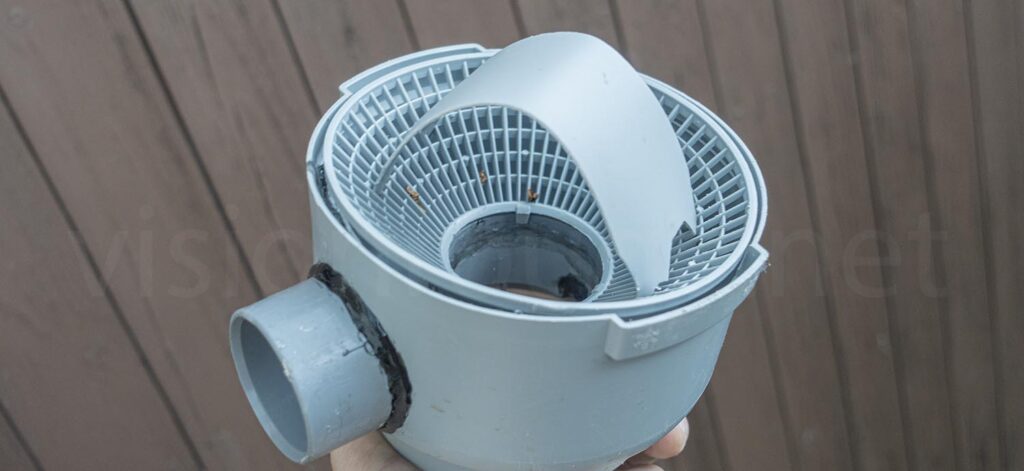
If trouble happens and the piping gets stuck for some reason, the water just overflows into the drain in the center. There is no external leaking even with pouring rain.
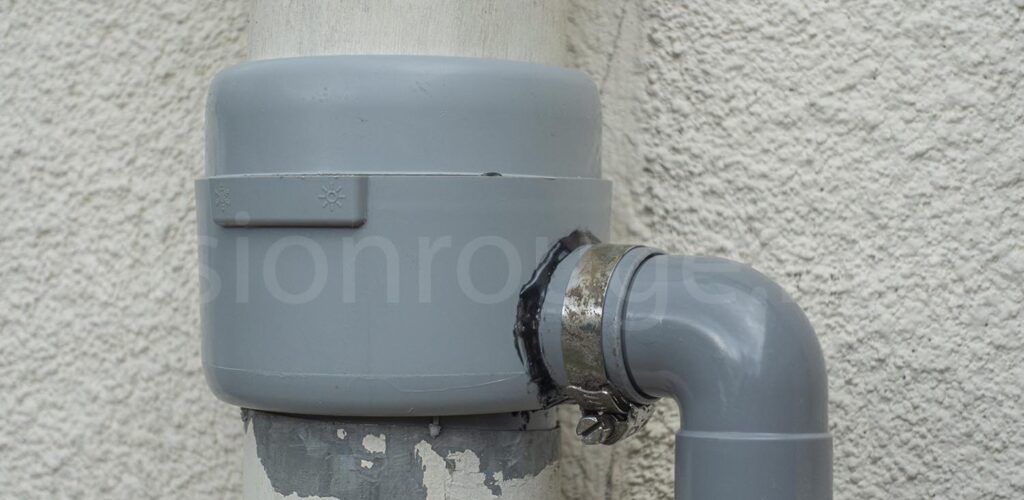
I will install a simple way to disconnect the tank from the rain catcher for winter time if necessary.
For now, with both piping are connected, I actually reduce the risk of having my gutter diameter getting reduced by the rain collector.
My tank have active overflow system, so the water always keep circulating.
My take on rainwater diverter.
I can only regret such original poorly designed unit. Most of the one you can find on the market are really limiting the amount of water they can collect. They are simply wasting resources due to poor design.
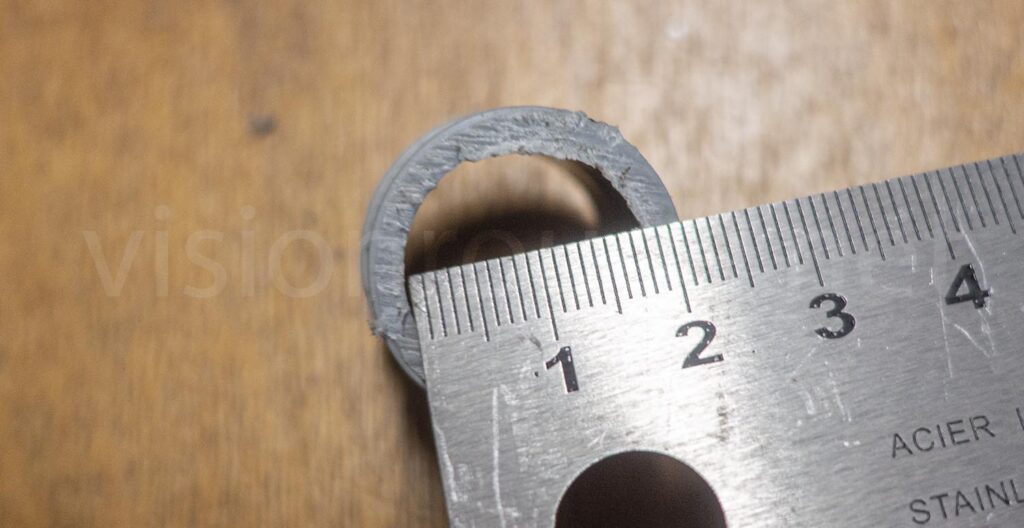
How the water coming from a 100mm downspout is excepted to get into a 12 mm pipe without losing most of it?
I whish I could have a 3D printer to create something even better and share
Feel free to ask for more details of this DIY if you need it in the comments section.
If you liked this post, feel free to click on the Google advertising banner. It’s just two seconds of your time and little money for me.

