DJI CrystalSky and SmallHD 702 for Inspire, DIY remote support
DIY remote support to put a CrystalSky screen and SmallHD on top (DJI Inspire 2 )
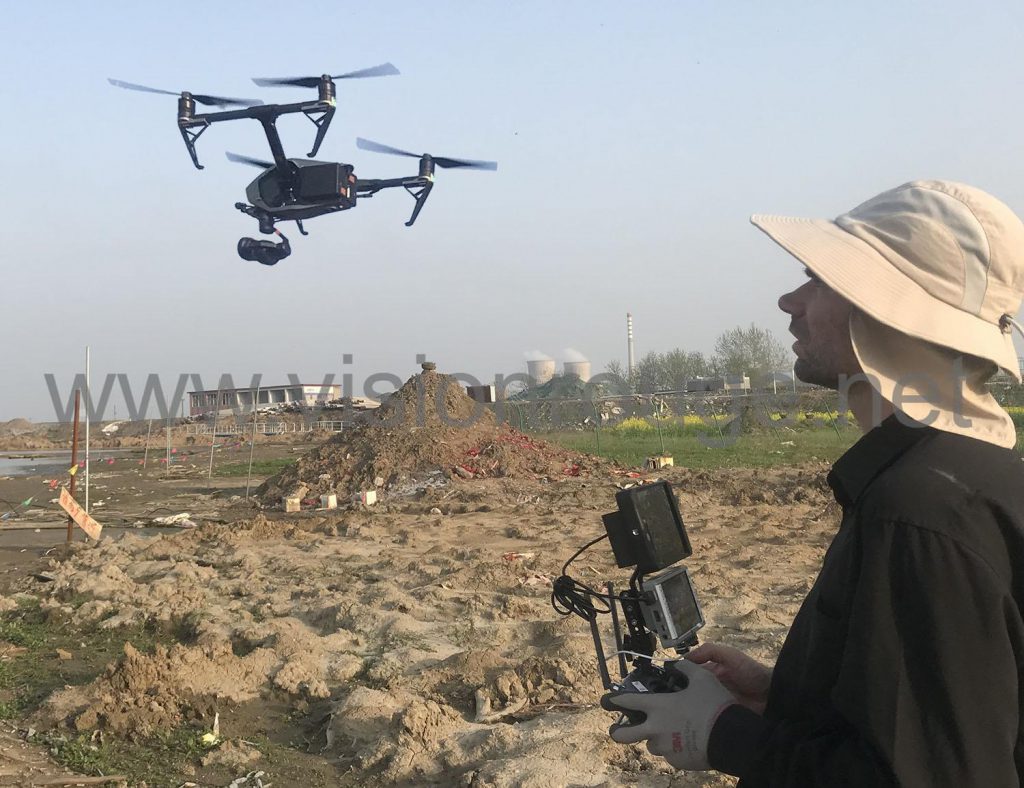
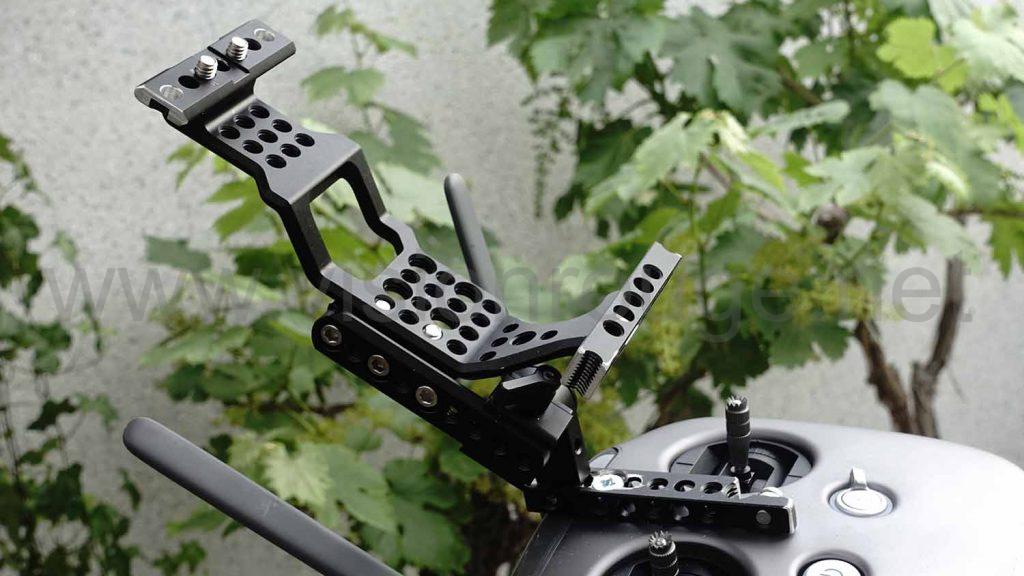
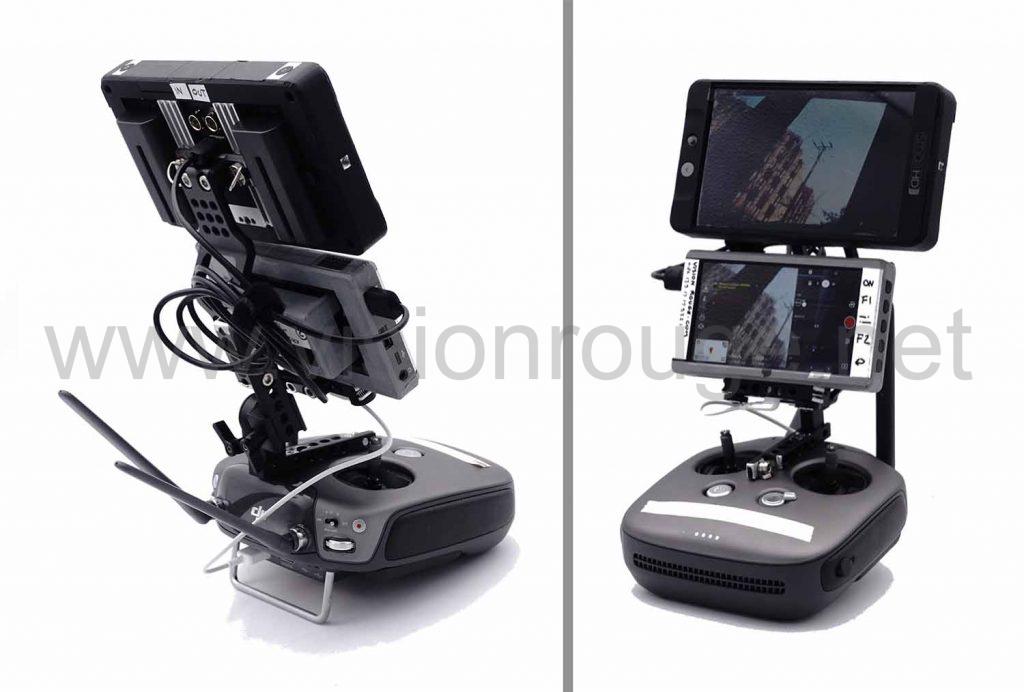
This is a DIY Hack describe how to stack in an elegant way 2 screens on your DJI Inspire or Phantom drone. Here the final result:
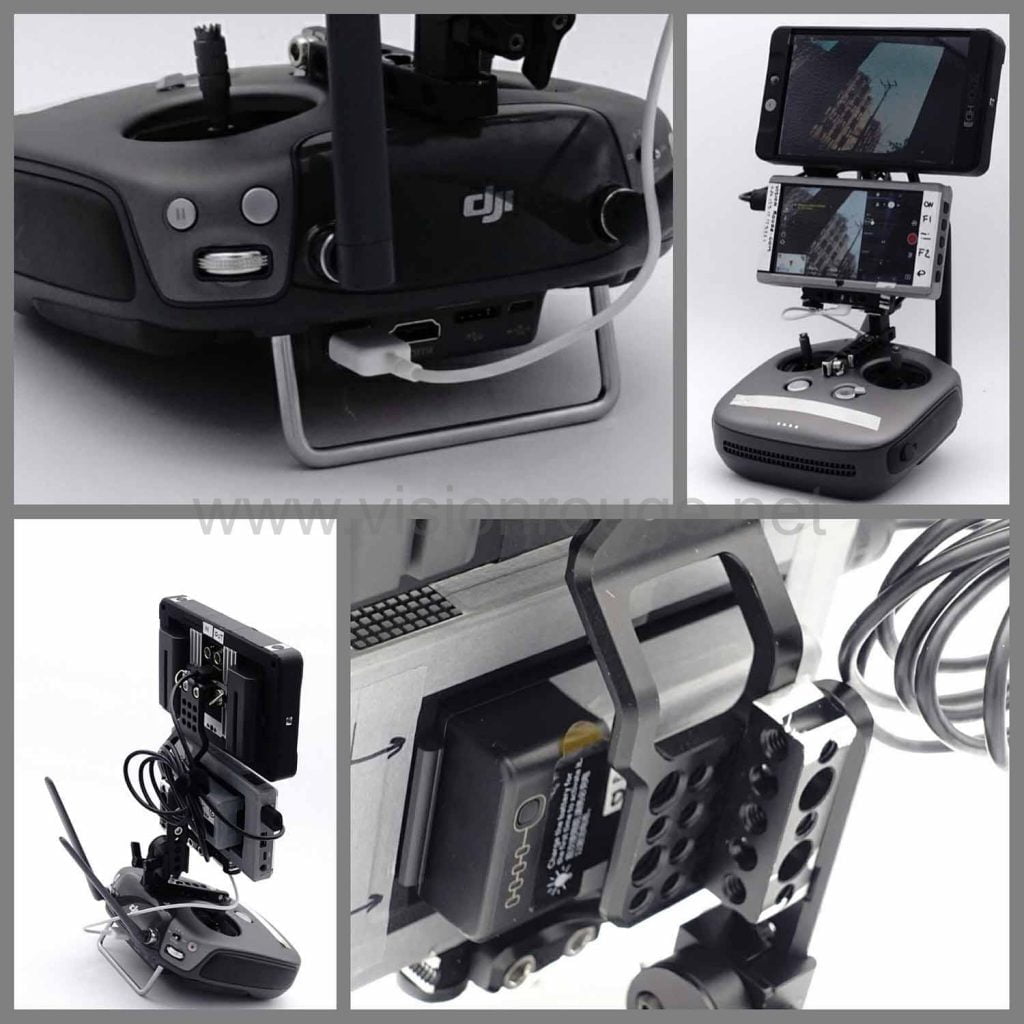
This setup still allows you to tilt the screen, easily change the batteries on both monitors and is very sturdy. It can be quickly dismantle to be put in a bag with just one lock, not even a tool is needed. It’s part of tips for drone lover.
Disclaimer:
This imply cutting with a metal saw and you have to take all safety equipment and tools to be protected.
Why a dual screen setup for flying?
The need for such dual screen came after the struggle to see if I should go for a large DJI CrystalSky 5.5″ vs the larger CrystalSky 7.85″.
I found that I may be using the Crystal 5.5″ more often on a DJI OSMO so the versatility and money saved would go in favor of the smaller one. Also, the Second screen let you clearly see the camera from the drone and the control screen full of icon still there. It’s also smaller in my bag. At the end, DJI never updated the OSMO, but I have started using the screen with a Mavic Pro 2 and a 3D printed support with great success.

Least and not last; with the SmallHD 702, I was able to apply a LUT to the Dlog HDMI feed from the CrystalSky, which gave me a more contrasted picture. I could see much better despite the fact my 702 was not a so bright one. This screen is not available anymore, but there are plenty of new option on the SmallHD store. Pick up a screen with high brightness to see even during sunny day. The 1,000 nits of the Smart Indie 7 is a bare minimum.
After few flight, I’m convinced that I did the right choice and should keep this setup.

As you can see, the usage and footprint are still very limited, the antennas are not obstructed.
How hard is it and for which price ?
As You will see below, only few hours of work is enough, you can buy all online at Smallrig website, only few extra screws need to be added. But, you don’t have to go to the design part as you just need to follow!
As many project, you start by looking what you have around you
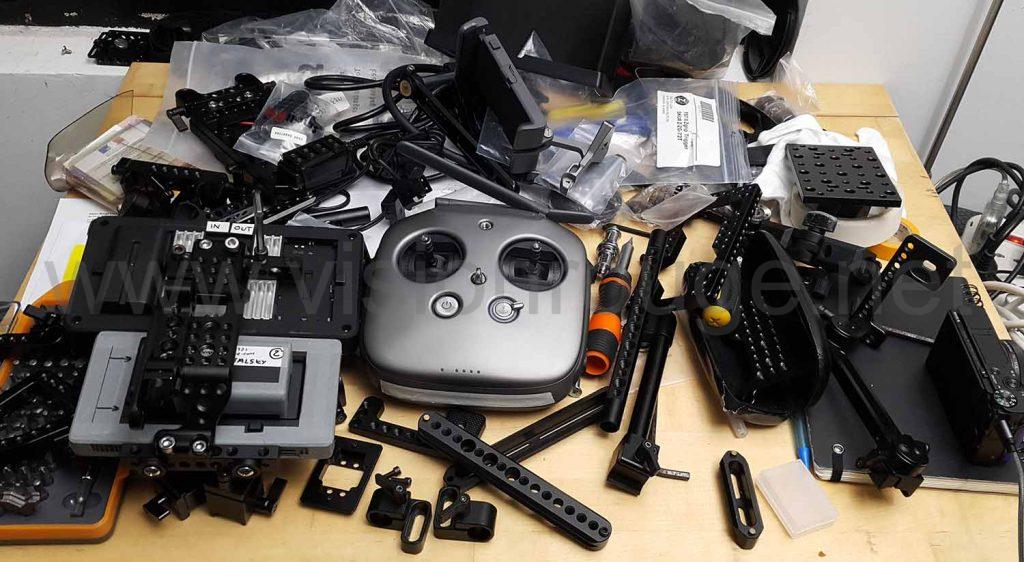
After selection, here what I kept
1) What do you need to create DIY remote support
◊2 x SmallRig Cheese bar, 10 USD each
◊1 x Smallrig Sony FS7 cage, but just the side, you may want to contact directly their staff and they will surely provide you a nice price. The reference is 1702 for the full kit.
◊1 x Smallrig dual rod clamp for 30USD
and
◊2 x Smallrig Nato rail for 20 USD
◊1 x Smallrig 1594 old EVF model, about 30 USD, again, you will only need the locker
On the tool side, only a metal saw and file and some drilling tools.
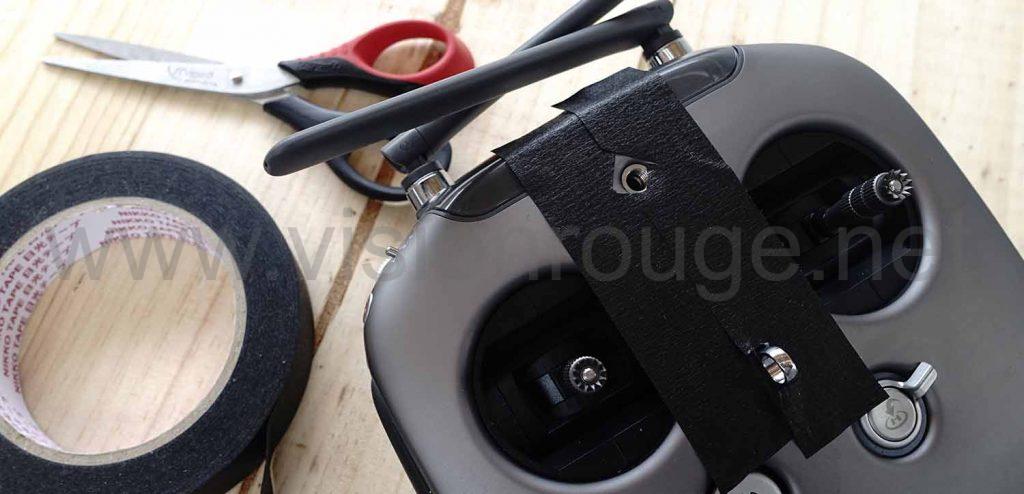
2) Protect the DJI Inspire remote with masking tape.
I’m a big lover of masking tape from MT . It’s the right way to protect your investment. It’s not sticky, even after few years, even after rain or sun: your gear will look as new! I also have white one to mark details that matters more than try to read the tiny print from the manufacturer. There are also called camera tape and are not as the one you usually use to protect a wall before painting. It’s sticky under he rain, can have many colors and help you sort out cable on the rush.
And if your DJI Inspire 2 remote controller wont charge, here is the answer.
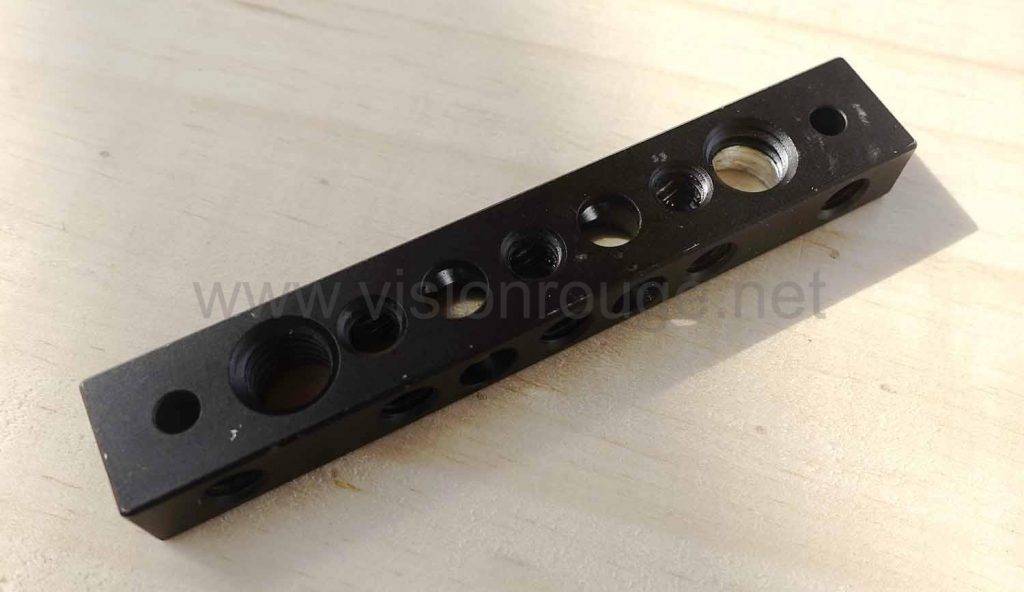
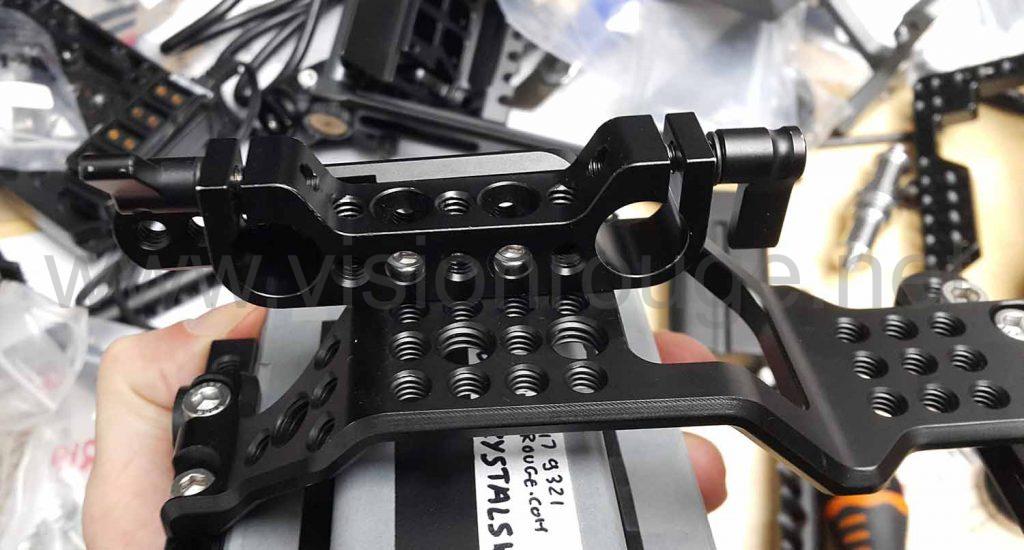
3)Using metal saw, cut the cheesplate
You want to obtain something like this. You need to create a small curve on the bottom to follow the DJI Inspire remote.
You also need to use a file to do the small gap to make sure it do not twist when locked down.
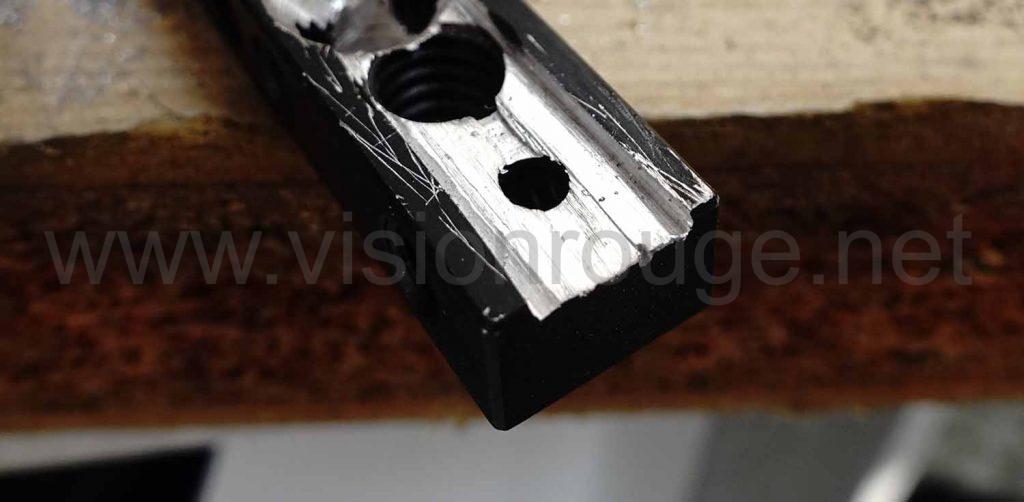
This is the base that will be kept all the time locked to your remote when you dismantle the rig between flight.
The next part is about the way to get the 2 screens stacked together.
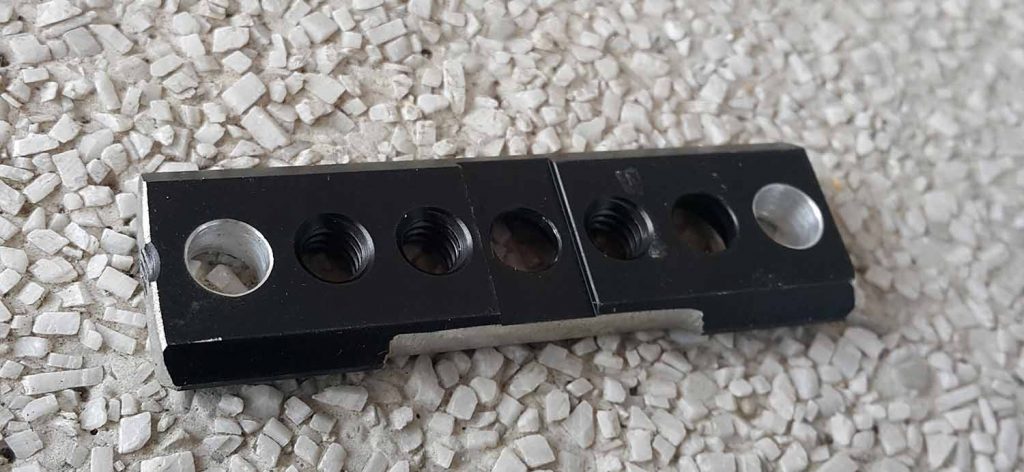
4) Cut the dual rod support to keep the cheese part only
(I’m sure any piece of other cheese plate will do)

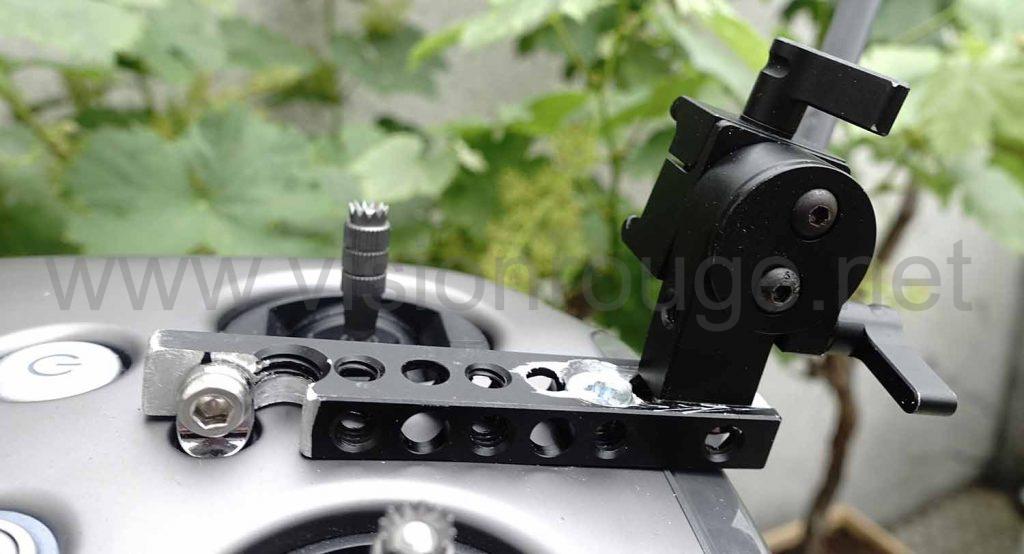
5)Prepare the Nato small rail to get something looking like this. The shape is to let the HDMI plug going inside. It may depend on the plug you will have on your side. You need to drill a bit extra to let the screw get inside and cut both sides.
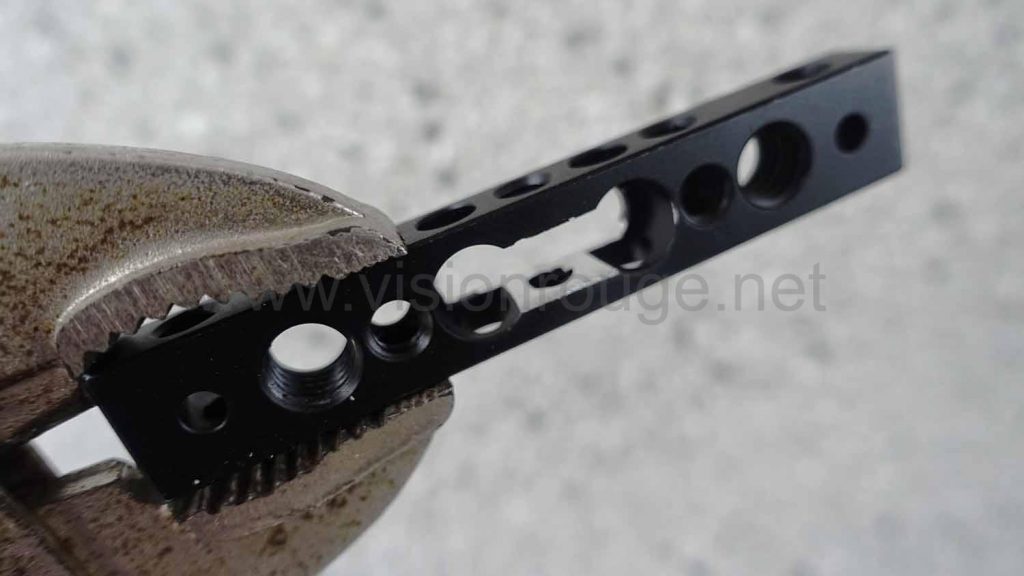
6) and the last part is the cheese bar modification.
This is only necessary if you want to use the usb C connector. If you use the one on the side, you don’t need to drill the center part.
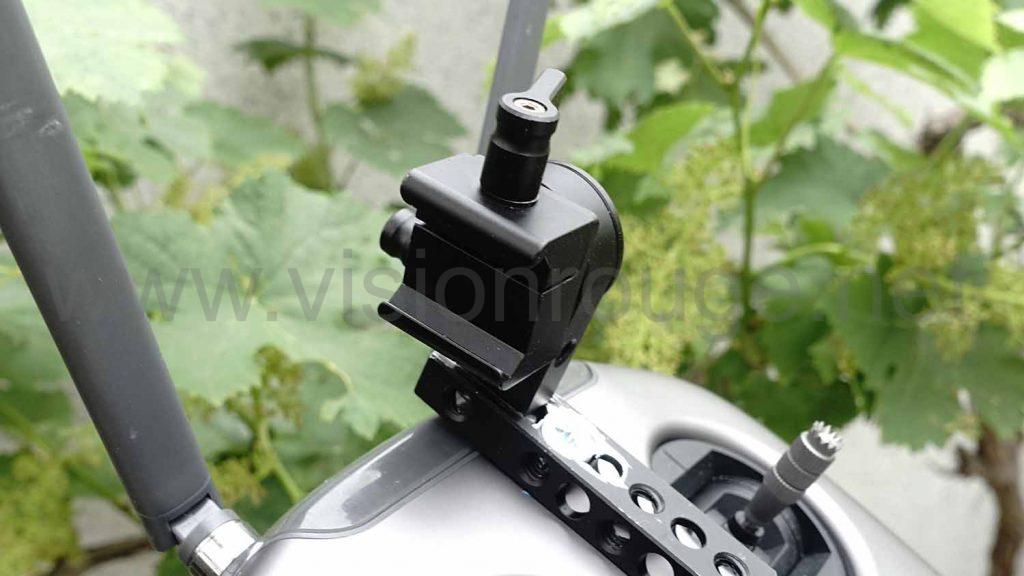
The final assembly is quite simple.
All fit in a great way and looks superb
Just screw your 2 screens, put a pair of batteries and your DIY remote support is ready!
And if you like to know more what is inside a DJI inspire 2 SSD…
Need a pilot and drone for your next aerial shooting in Honk Kong or China?
And if you like this hack, please jump on the top of this article to click on the Google advertising,
It’s a second for you and a little a money directly to my bank account.